
Welcome
Welcome to CMNTY Platform and welcome to the Help Center. While you will find in-depth articles here about many aspects of CMNTY Platform, we are often asked for a “quick start guide” that people can use to get familiar with our software. You will notice that this article is a bit longer than others, but it is meant to help you get familiar as quickly as possible.
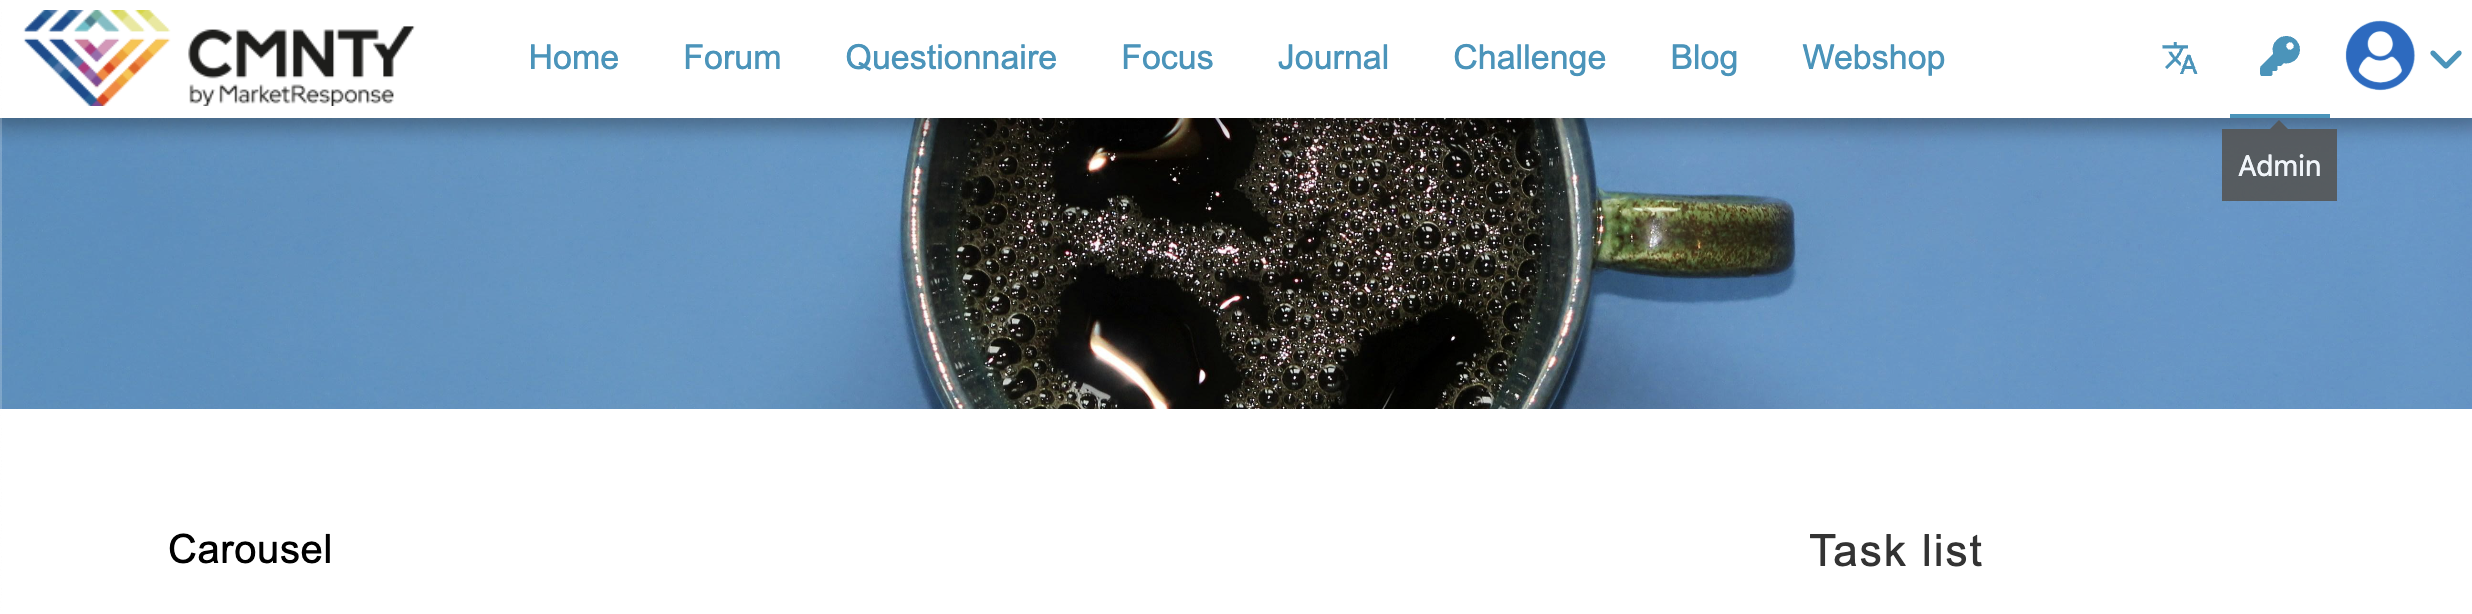
When we talk about CMNTY Platform, we will make a distinction between the “front-end” and the “Admin Section”. The front-end is typically where participants interact with each other. The Admin section is where you (the moderator) can manage the platform settings & content. In this guide, we will focus on things in the Admin section since that is where you will want to do your initial setup. You can access the Admin section by clicking on the Admin symbol in the front-end menu:
The Admin menu is divided into four tabs:
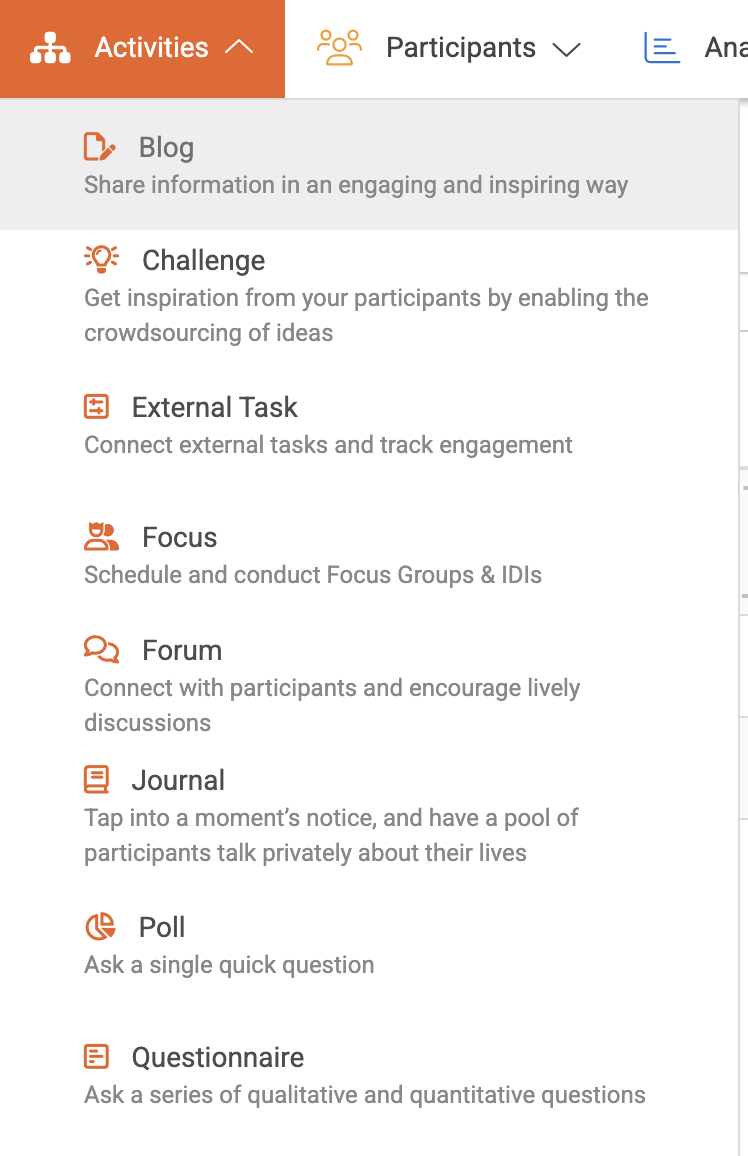
- Activities
In this section, you can create, add, schedule, or edit both content and project activities for your CMNTY Platform (this is where you write blogs, create questionnaires, and update your images slider, etc). Learn more about what you can do with Activities by reading this article. - Participants
In this section, you can invite and manage participants, observers, or moderators (this is where you’ll invite users, set profile fields, create user groups, customize user profiles and roles, and establish gamification triggers for rewarding participants with points or badges, etc). Learn more about what you can do with Participants by reading this article. - Analyze
In this section, you can access and export your platform content and activity (this is where you’ll download pdfs or ready-made graphs for questionnaires or polls, create excel exports of platform content or user activity, etc). You can also receive a completion matrix completed by participants. Learn more about what you can do with Analyze by reading this article. - Configure
In this section, you can set default platform settings (you’ll select your modules and widgets, craft your default texts, etc.). You can also brand your CMNTY platform from Site Appearance to give it the look and feel that you want (add your own logo, background image, platform color, etc). Learn more about what you can do with Configure by reading this article.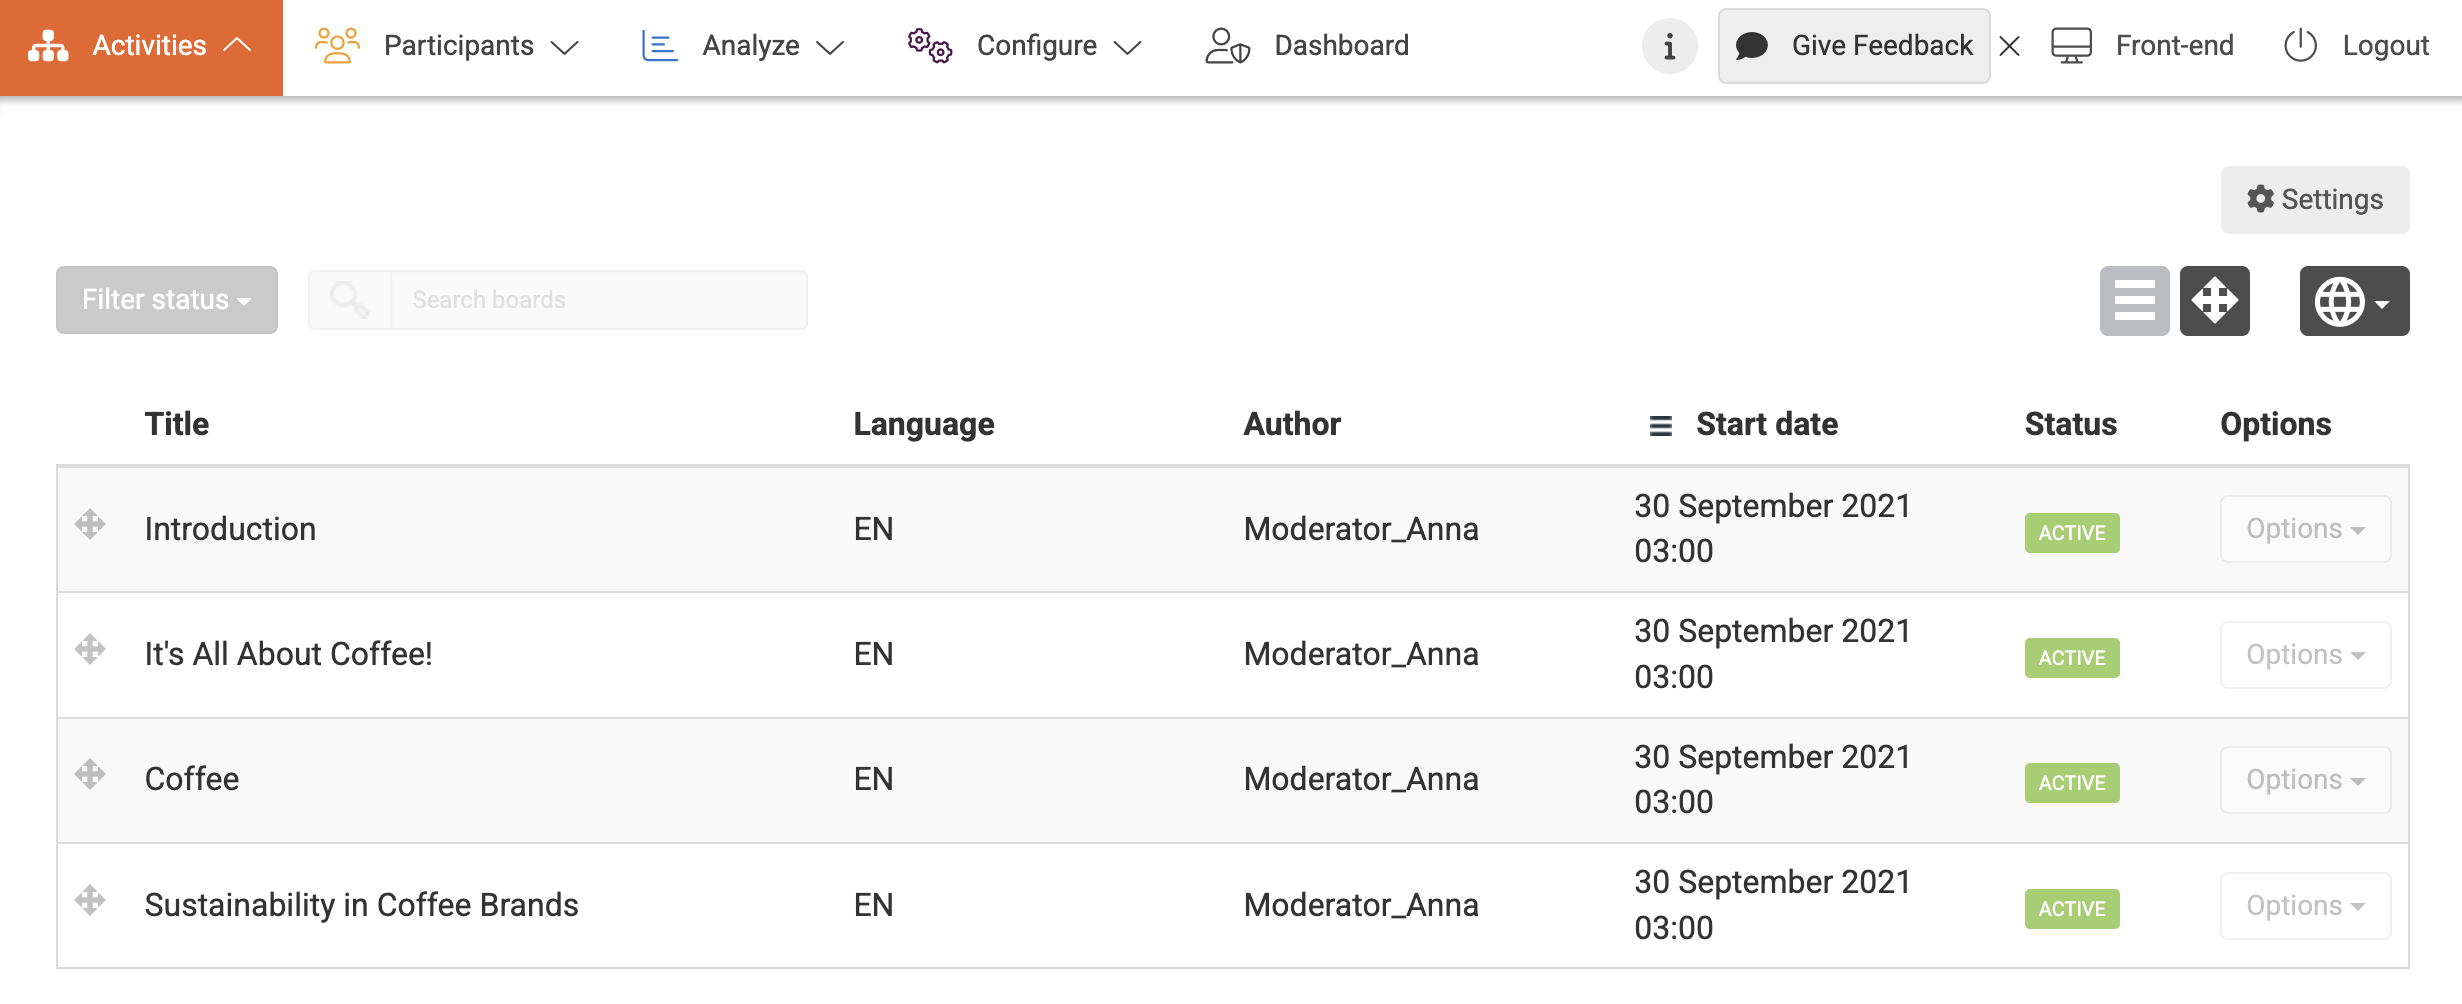
1. Look around, then get a fresh start
Your platform is empty or filled with demo content from Coffee Project to give you an idea of how the platform and all features can be used. We suggest that you spend some time exploring the demo content if exploring a content template. Click through each module to see how the presentation and interaction styles differ.
For example, while you will see that respondents post comments in a forum, they submit ideas to your challenges. These ideas can be voted on, commented on, and tracked on times viewed. If you have questions about the specific functionality and use for each module, we have plenty of articles about them as well in this Help Center.
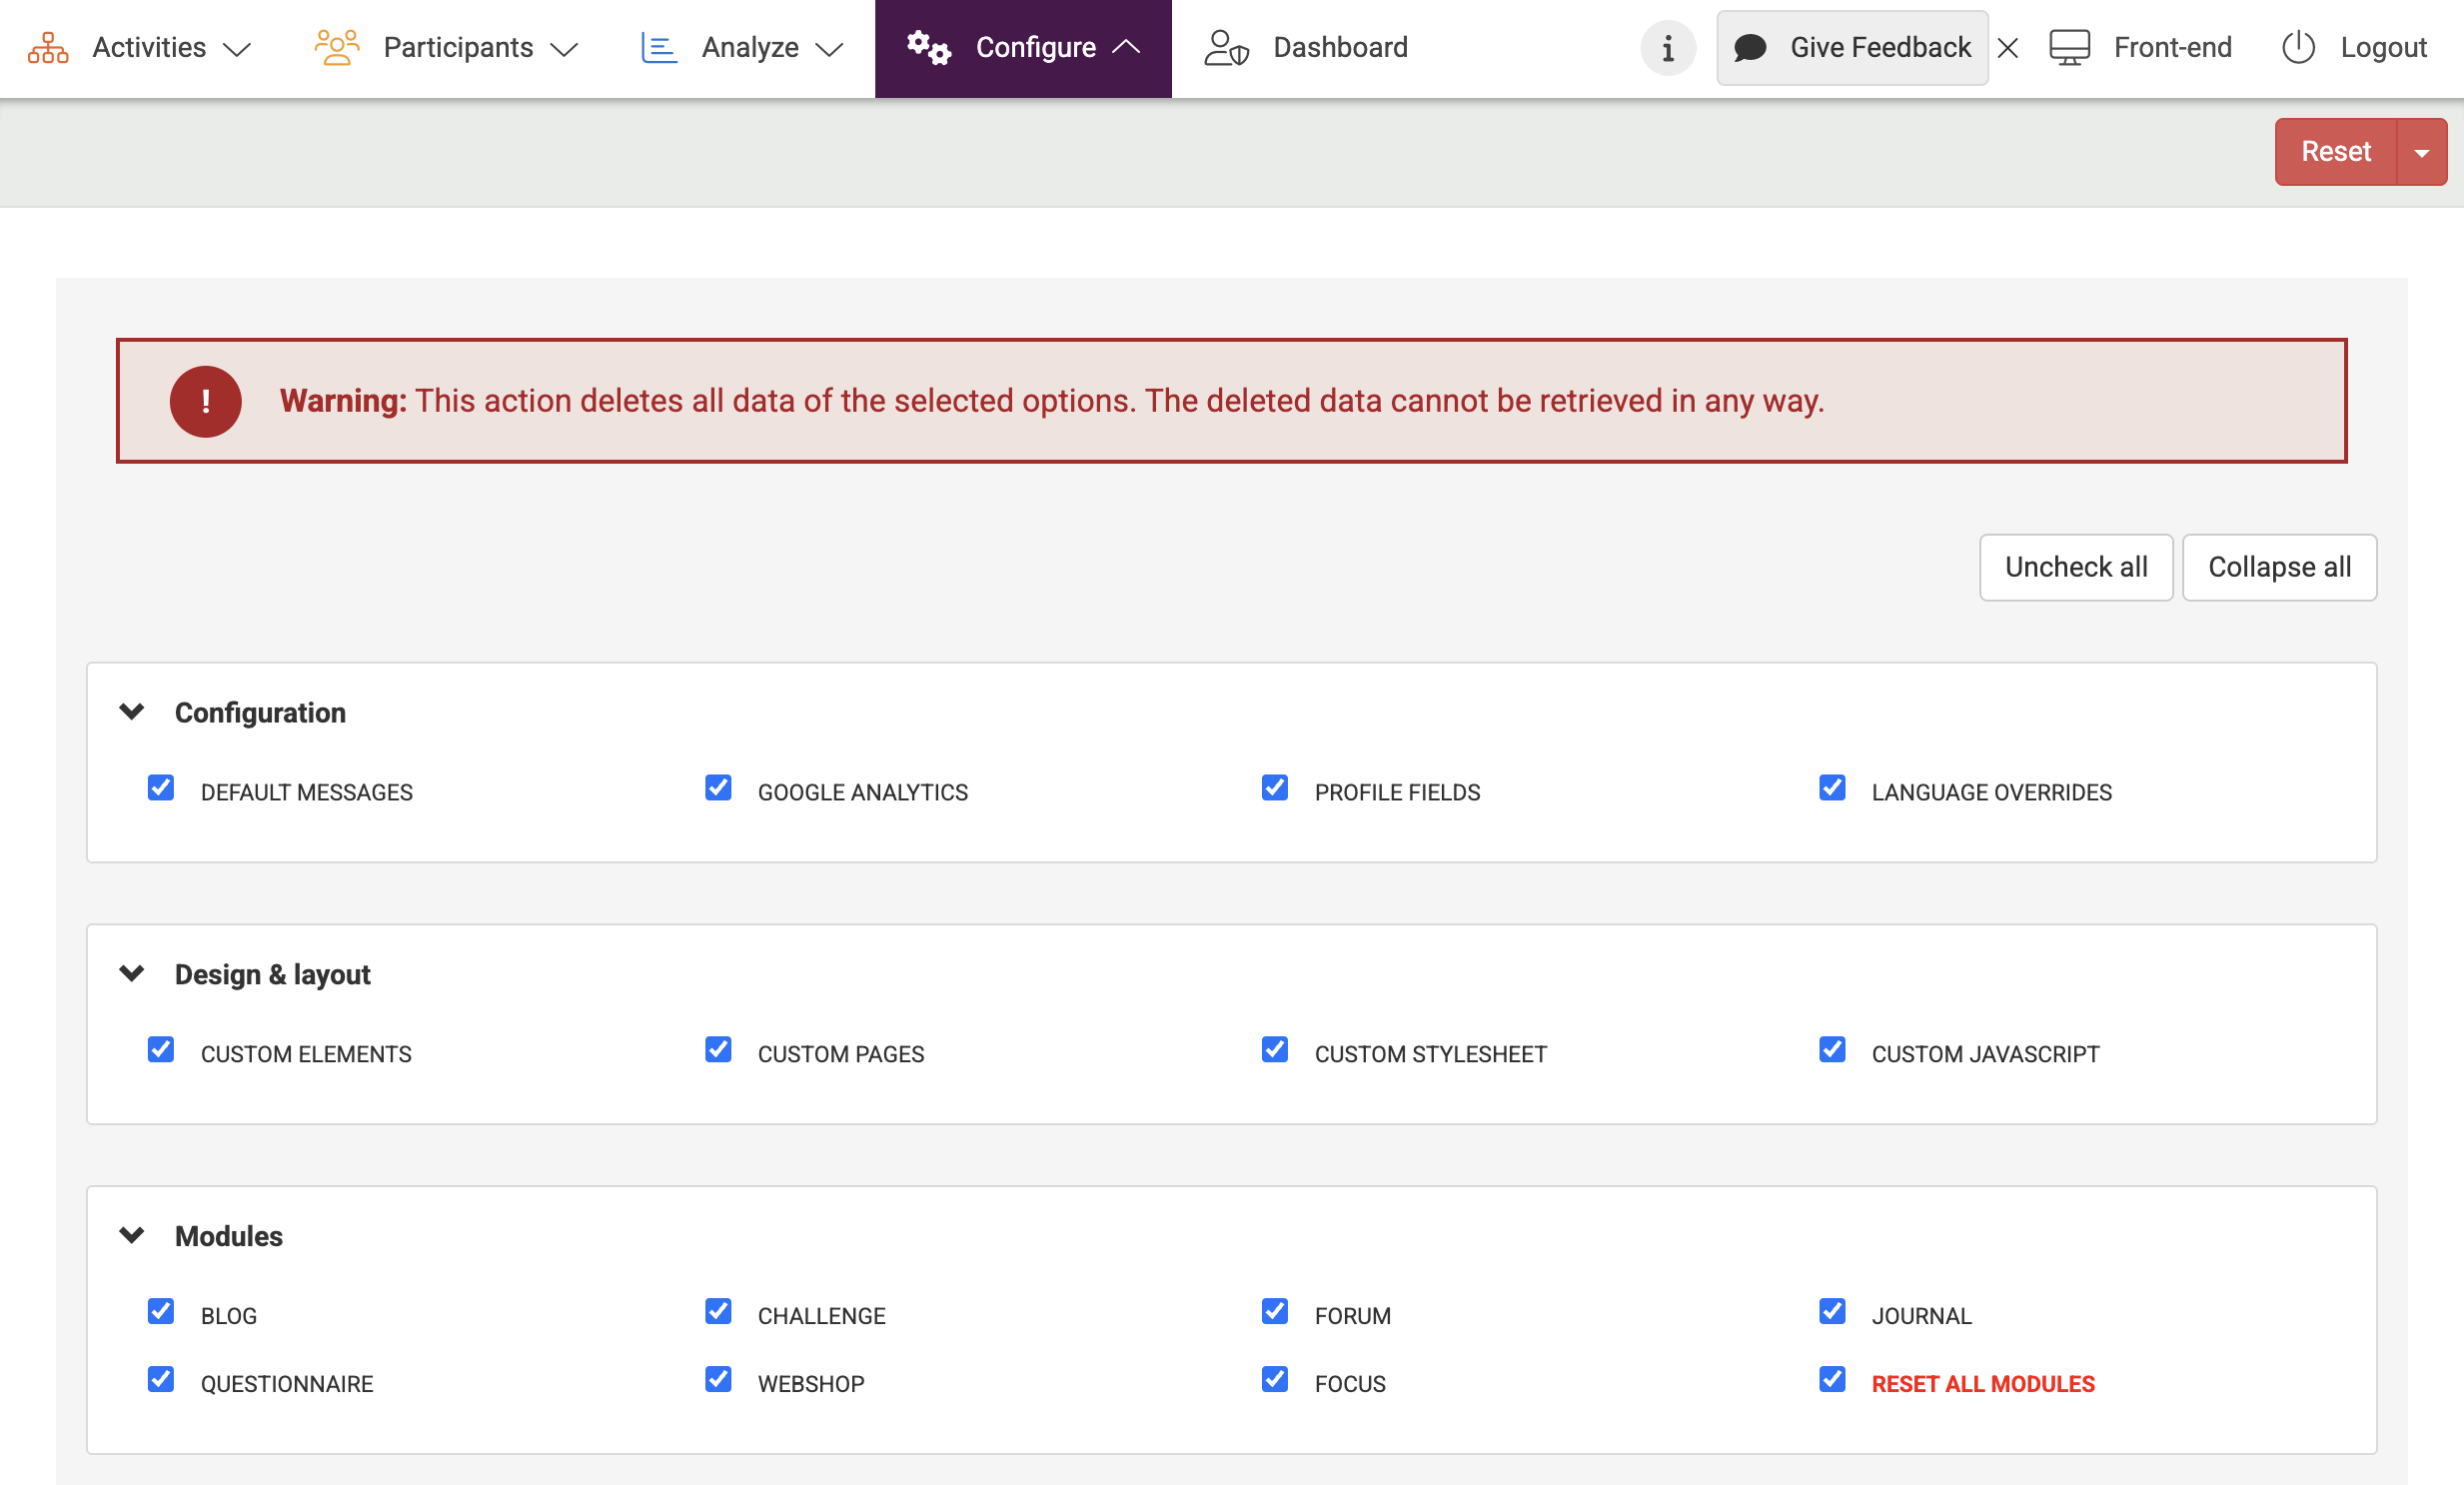
After you got a sense for how your platform could look, feel free to reset the content so you can start adding your own content and activities to make your platform your own. You can reset the demo content from Configure – Reset – Clear Data. Please be aware that the deleted data can not be retrieved. However, be sure to reach-out when ready to start building your project so we can set you to an empty template.
2. Set-up your own email signature
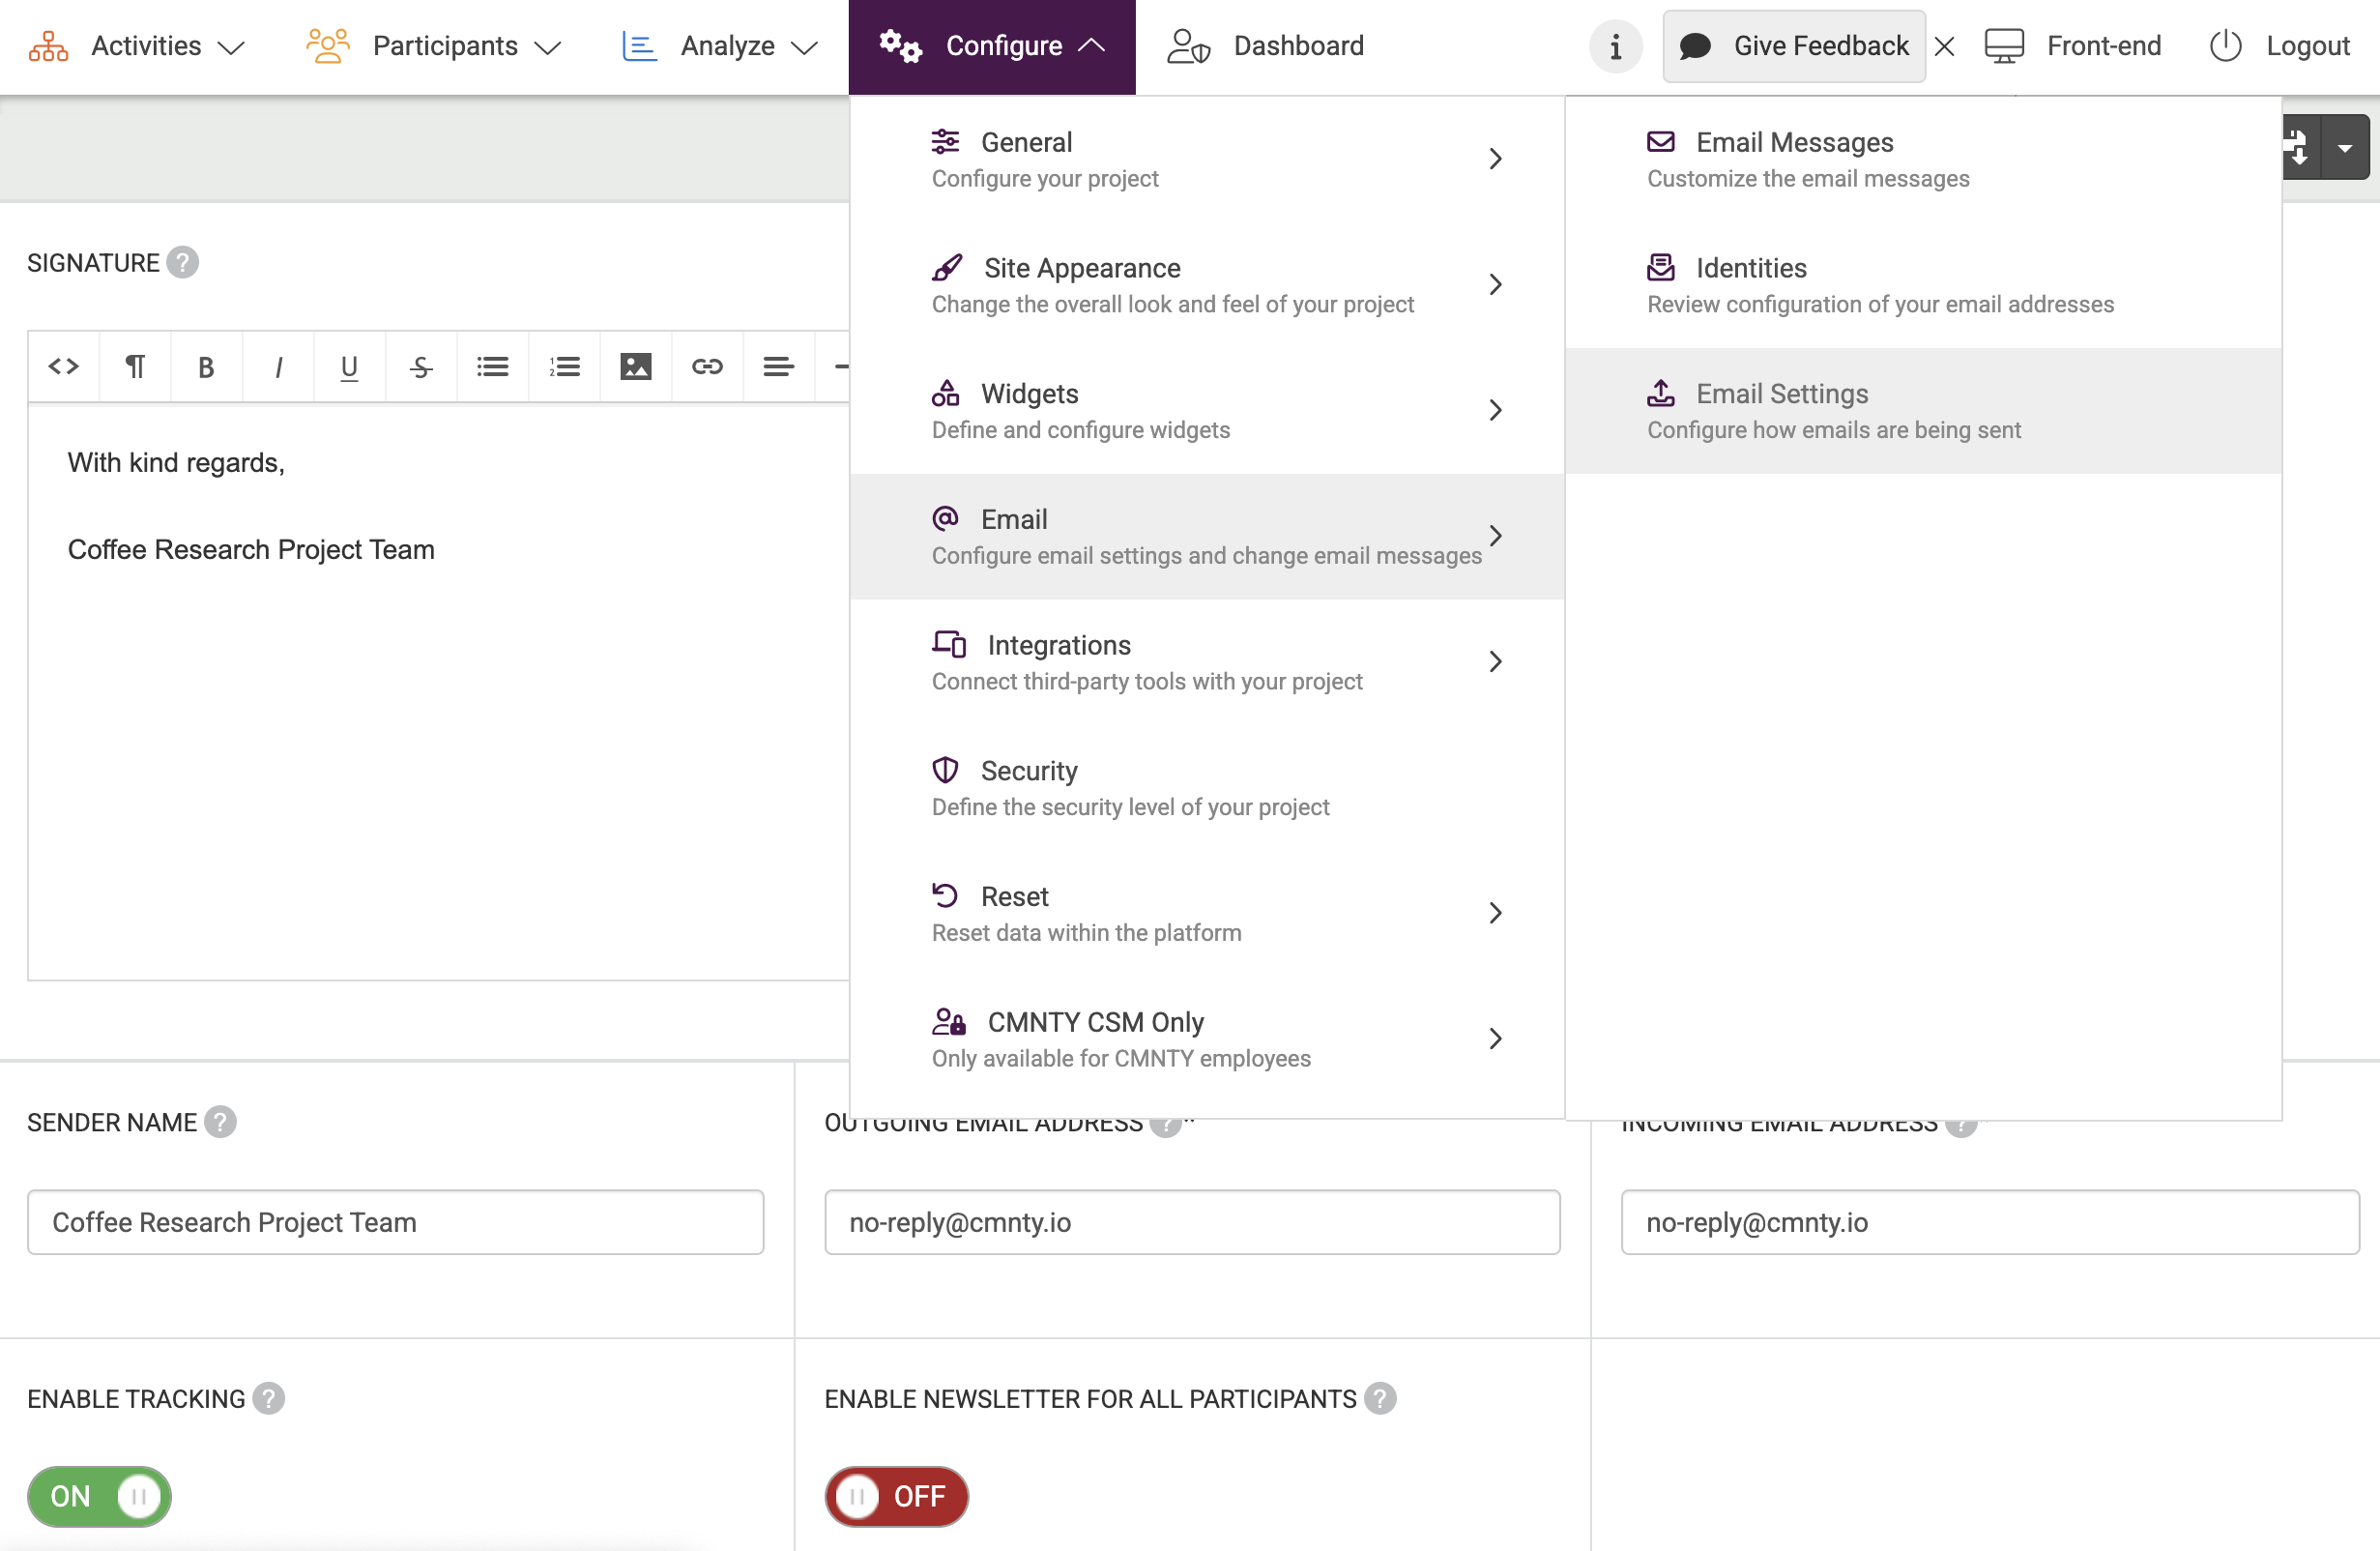
- Go to Configure at the top menu in Admin.
- Underneath Email, choose Email Settings. The Signature will be placed underneath every email that the Platform sends (i.e. invitations, newsletters, notification emails, etc.). The Sender Name will be displayed as the sender and the Outgoing Email Address is the email address that will be displayed as the sender’s address. Incoming Email Address is the email address where platform emails and participant replies will be sent.
You can find more information about your email settings in this article.
3. Check and set your Default Messages
At Default Messages, you can configure messages that are visible within the platform. The default invite/decline message will be sent out as an email. All default messages can be found and changed by following the steps below:
- Go to the Configure page at the top menu.
- Choose General and then Default Messages. These messages include:
- Login message
This is text which you can add to the login page. You can welcome your participants or give extra information about the platform. - Welcome message
This text will appear on the homepage of your CMNTY Platform. You can use shortcodes to show usernames, first/last name, the time of the user’s last visit, or the number of users that are currently online to make the message more personal. The welcome message should include information such as the goal of your project, what is expected from the participants, how long the study will take place, and if there will be a reward at the end. - Footer message
The footer message is the text that will appear at the bottom of each page in the front-end of your CMNTY Platform, with the exception of the login and registration pages. - Terms & Conditions and Privacy Statement
Terms and Conditions or Privacy Statement can be used to inform your participants about the rules and requirements of participation in your project. Privacy Statement explains how participant data is used and why. When Terms and Conditions or Privacy Statement are activated, users will have to accept them in order to complete registration. - Cookie Message
The cookie message can be used to inform your participants your platform uses cookies to, for example, remember user logins, sessions, default languages, time zones, and/or page settings. When third-party software is integrated with your platform (for example Google Analytics or Social sharing), they may also use cookies. Activate the cookie message at:
- Go to Configure at the top menu in Admin.
- Choose General at the left menu.
- Choose Platform Configuration.
- Under Policies, flip Cookie Message to ON.
- Invite
Invite is used whenever you generate a new platform invitation. While this can save you time, you can always edit the invite title and text for specific invites before sending them if you wish to customize them. The invite title is the email subject and the message is the body of the email. You can change the text of the invite message, but please leave the {acceptlink} shortcode untouched. We also strongly recommend that you do not change or copy/paste the accept link because if the link breaks the users won’t be able to sign up. In case you use the decline link, please do not change or copy/paste this link either.
Decline Message When a user clicks on the decline link in the platform type, they will be directed to this message. If you do not want participants to be able to decline an invite, you can remove the decline link from the invite. When an invite is declined, it will be moved from the ‘open invites’ tab to the ‘declined invites’ tab. Declined invites cannot be resent.
To see which participant declined an invite you can view the declined invites tab:- Go to Participants at the top menu in Admin.
- Choose Users at the left menu.
- Choose Invites, you can see Declined invites on the second tab.
4. Add your own logo and header image
Once we’ve reset the platform, the first thing you do is add a logo and header image to make the platform match your brand identity. You can do this by following the steps below:
- Go to Configure at the top menu of Admin.
- Choose Site Appearance from the menu.
- Choose Platform Template.
- You can upload a HEADER IMAGE and LOGO IMAGE (and be sure to look at other options on this page as well, like platform color).
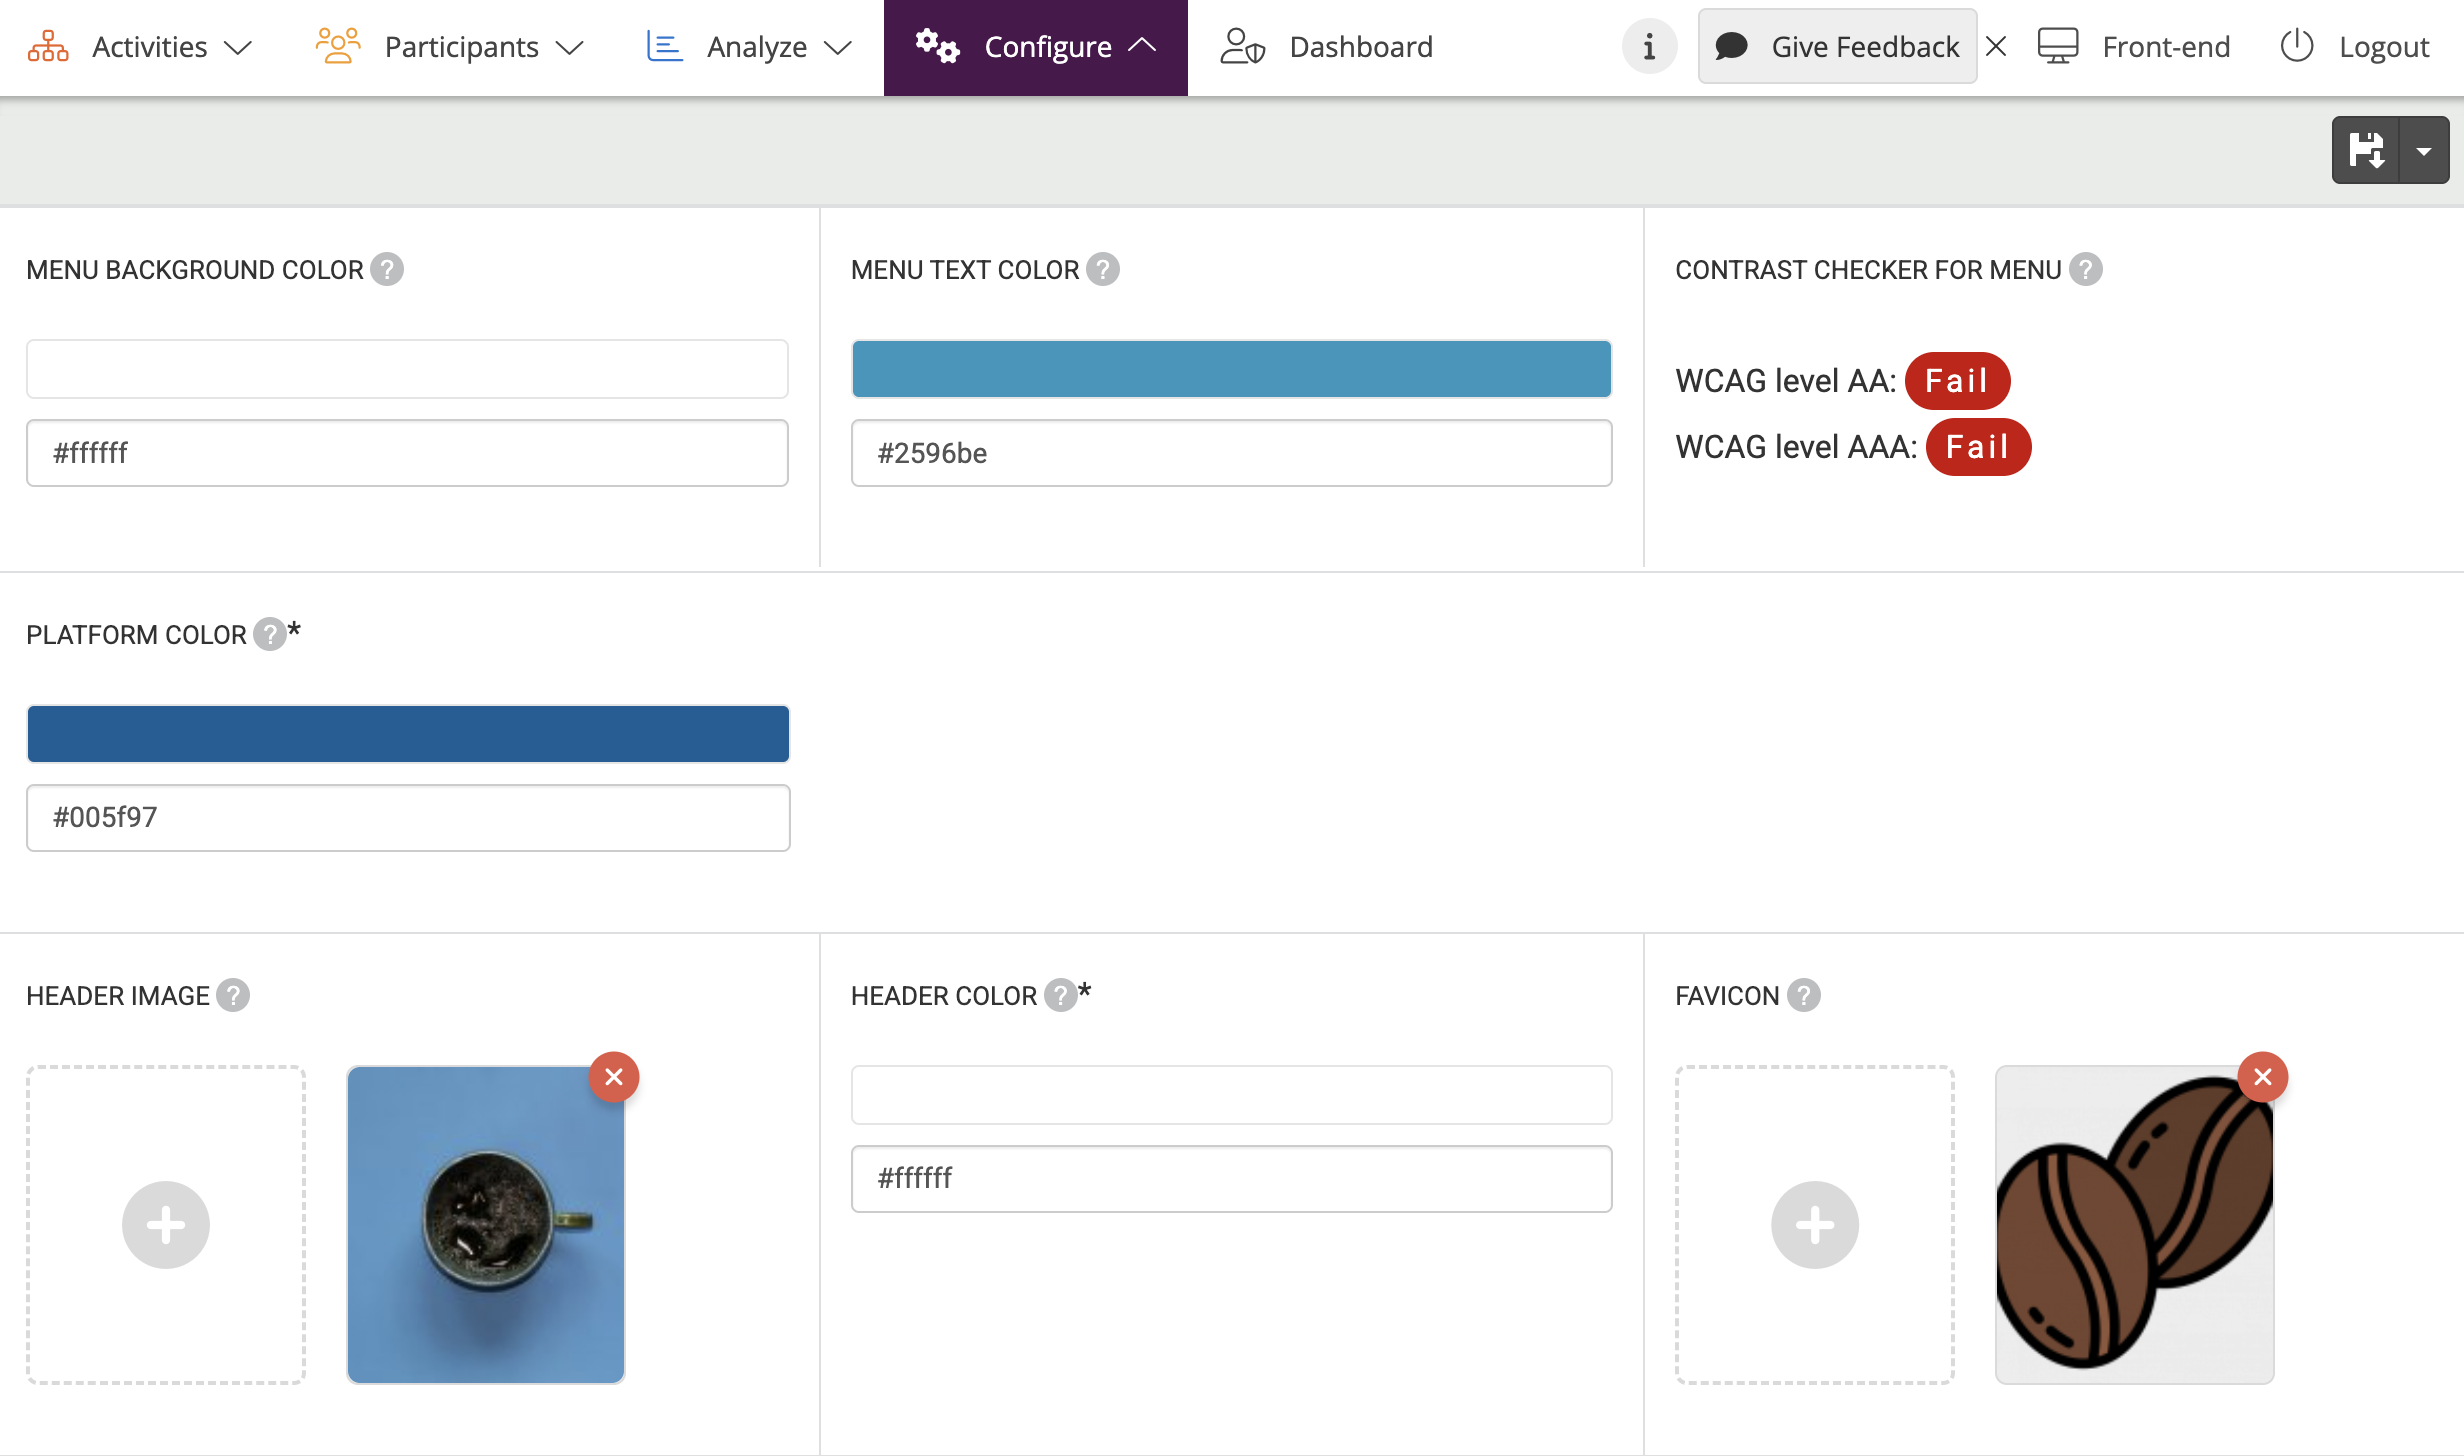
You can make more design changes to personalize the platform even more. Learn more about these changes here.
5. Add content to your platform
Before you start creating content, we advise you to take a look at all the available modules and decide which ones are usable for your project. You can activate/deactivate modules by following the steps in this article.
To use a module, you have to add content to it. You can do this by following the steps below:
- Go to Activities at the top menu of Admin.
- Choose a Module in the left menu to which you want to add content to, for example, the Blog module.
- Click Add Blog in the overview page.
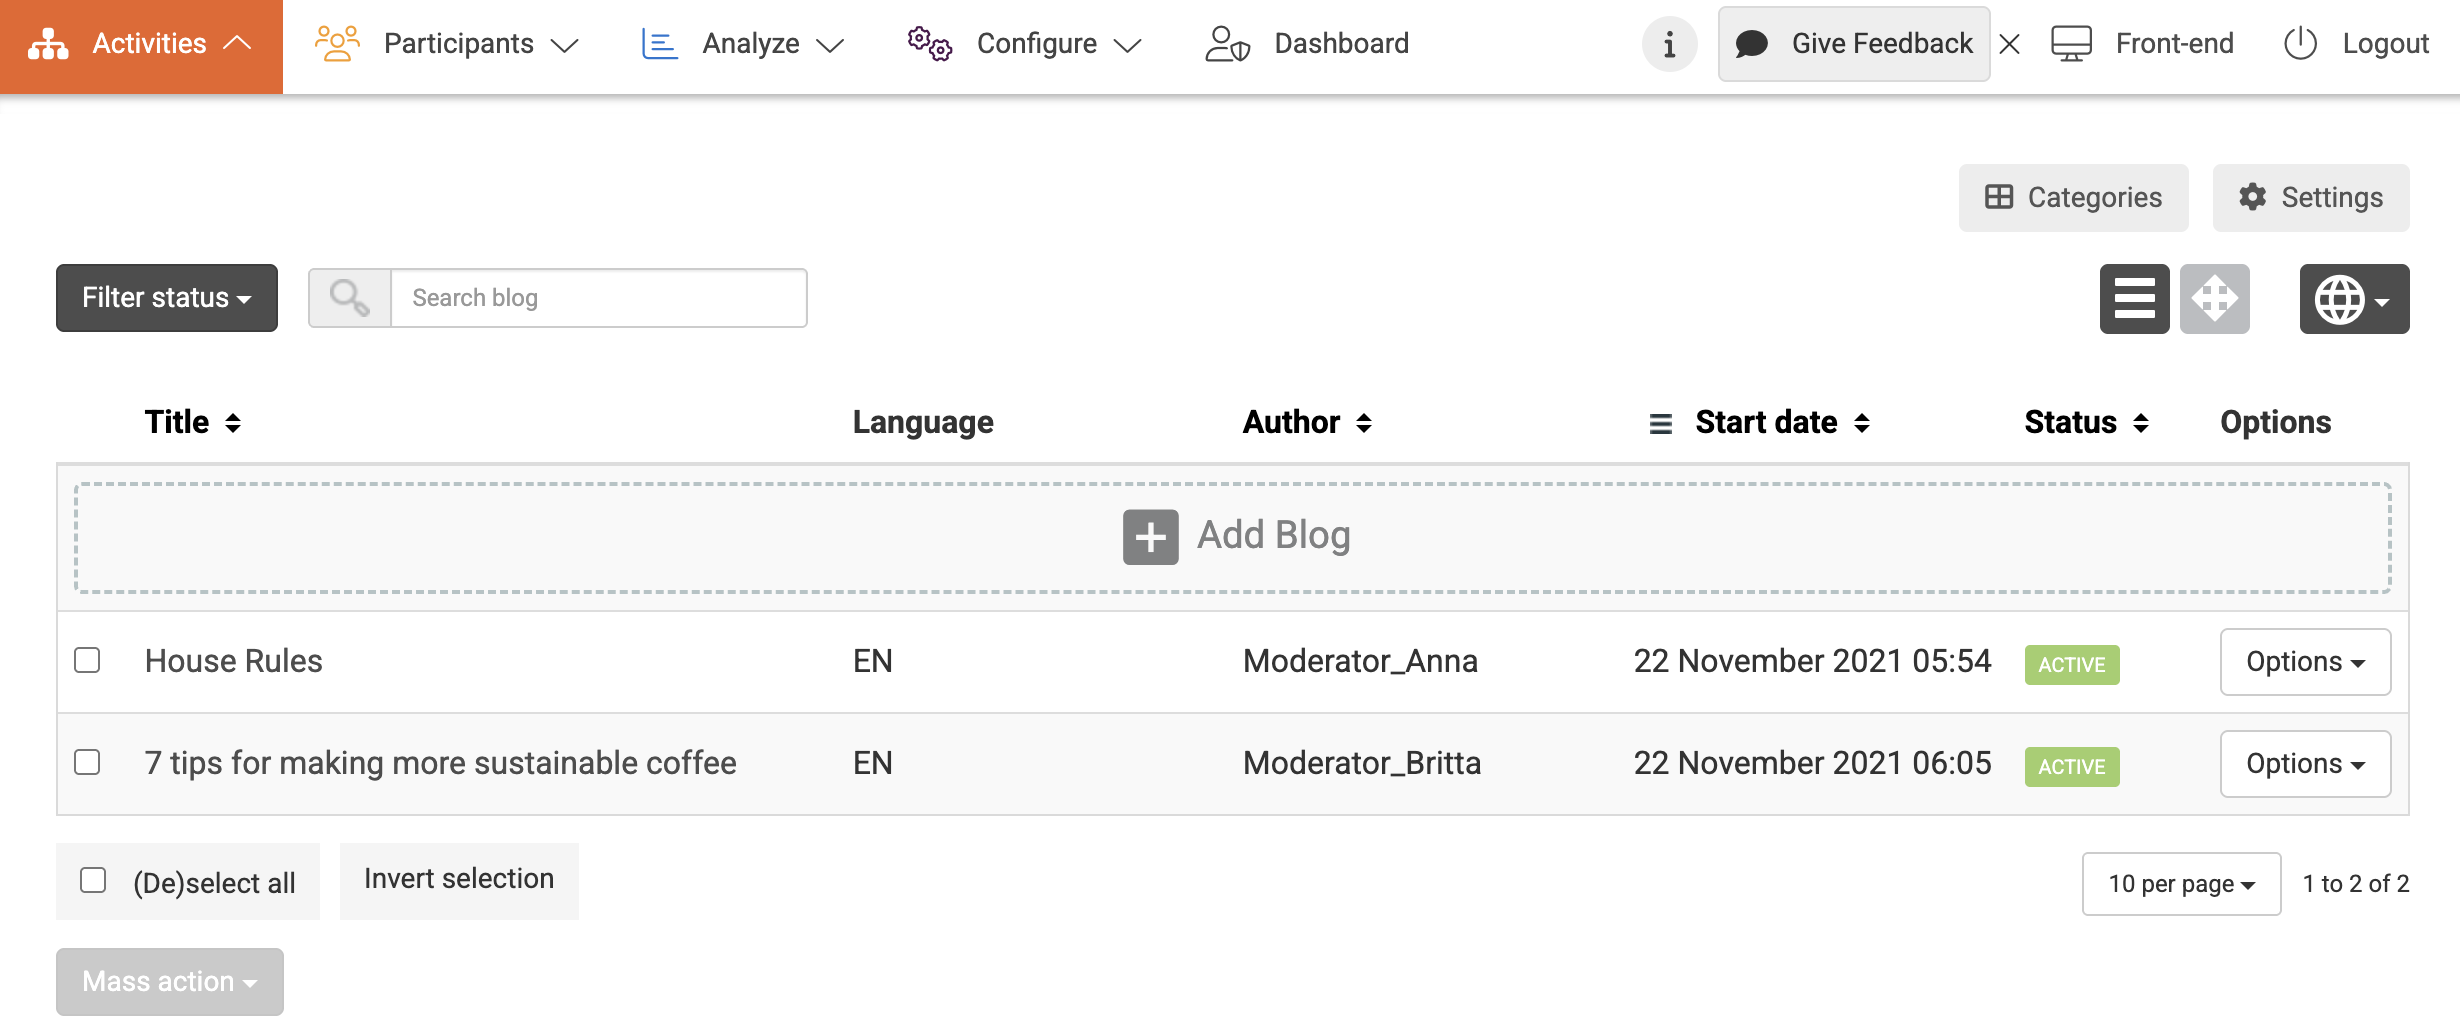
- On the next page, you will be able to create the content and choose different settings based on the module that you have chosen. When your platform is set to multiple languages, you can enter content for each of them using the button in the upper right corner. Don’t forget to save your changes.
6. Invite participants to your community
As a Moderator, you will usually send invites based on a list of email addresses. If you do not need to import any member information (i.e. if you will collect everything you need to know via the platform) then this is the simplest way to go.
If you want to send many invites at once or if you want to import profile fields along with the invites, you may choose to import your participants from a CSV file. You can learn more about the different ways of sending out invites in this article.
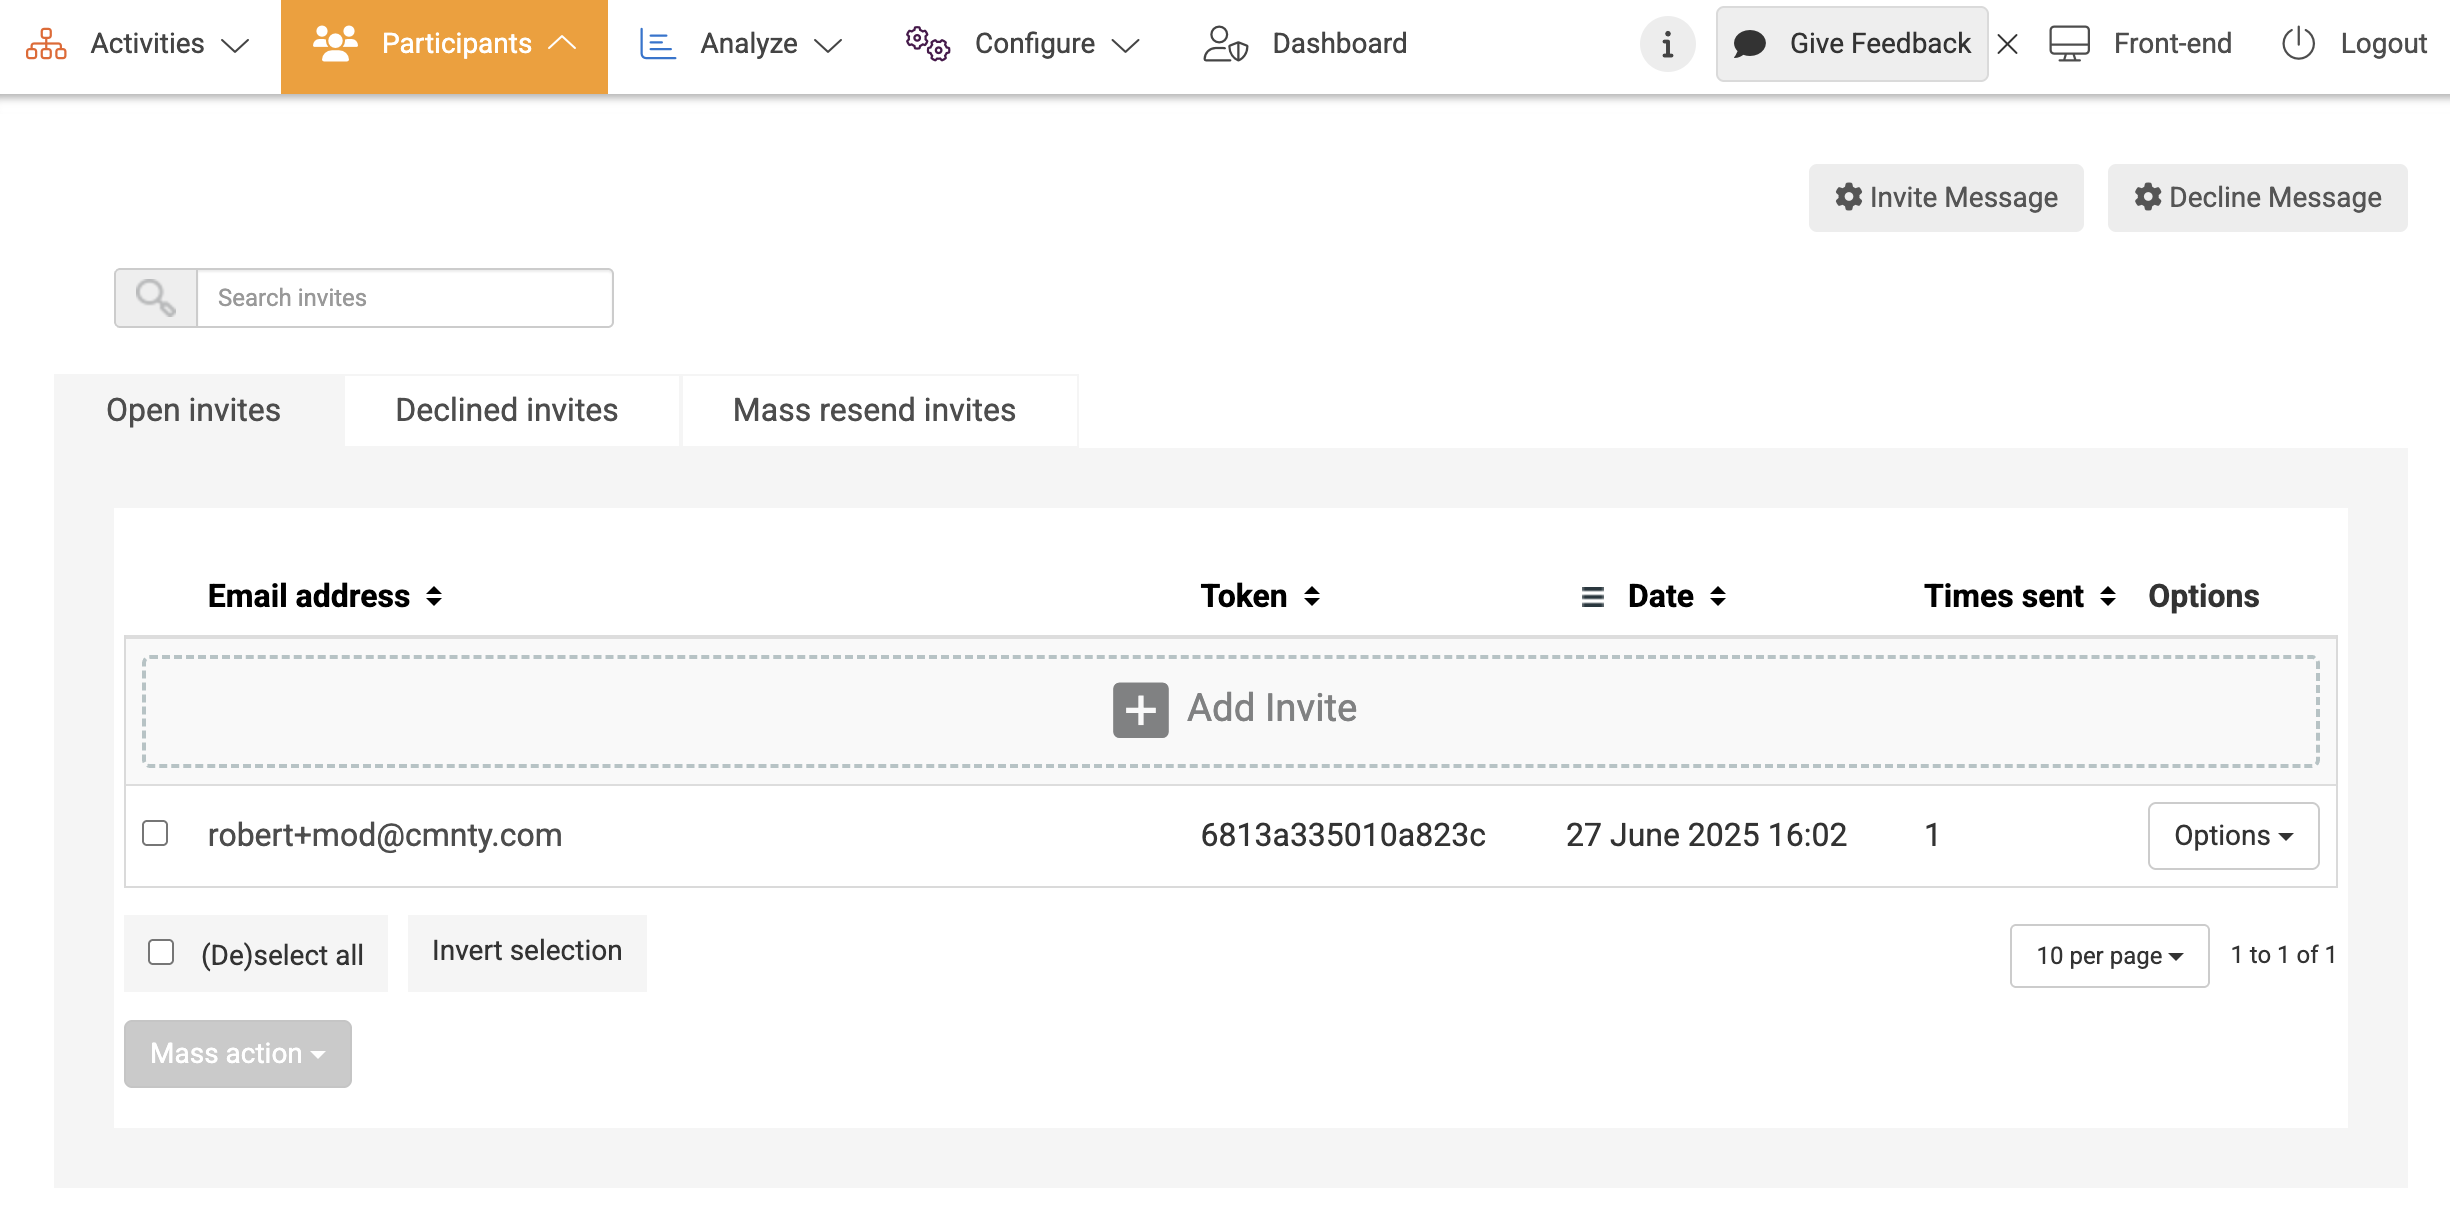
To create and send an invite based on email address(es), go to the Admin section of your platform and follow the steps below:
- Go to Participants at the top menu in Admin.
- Choose Users – Invites on the menu.
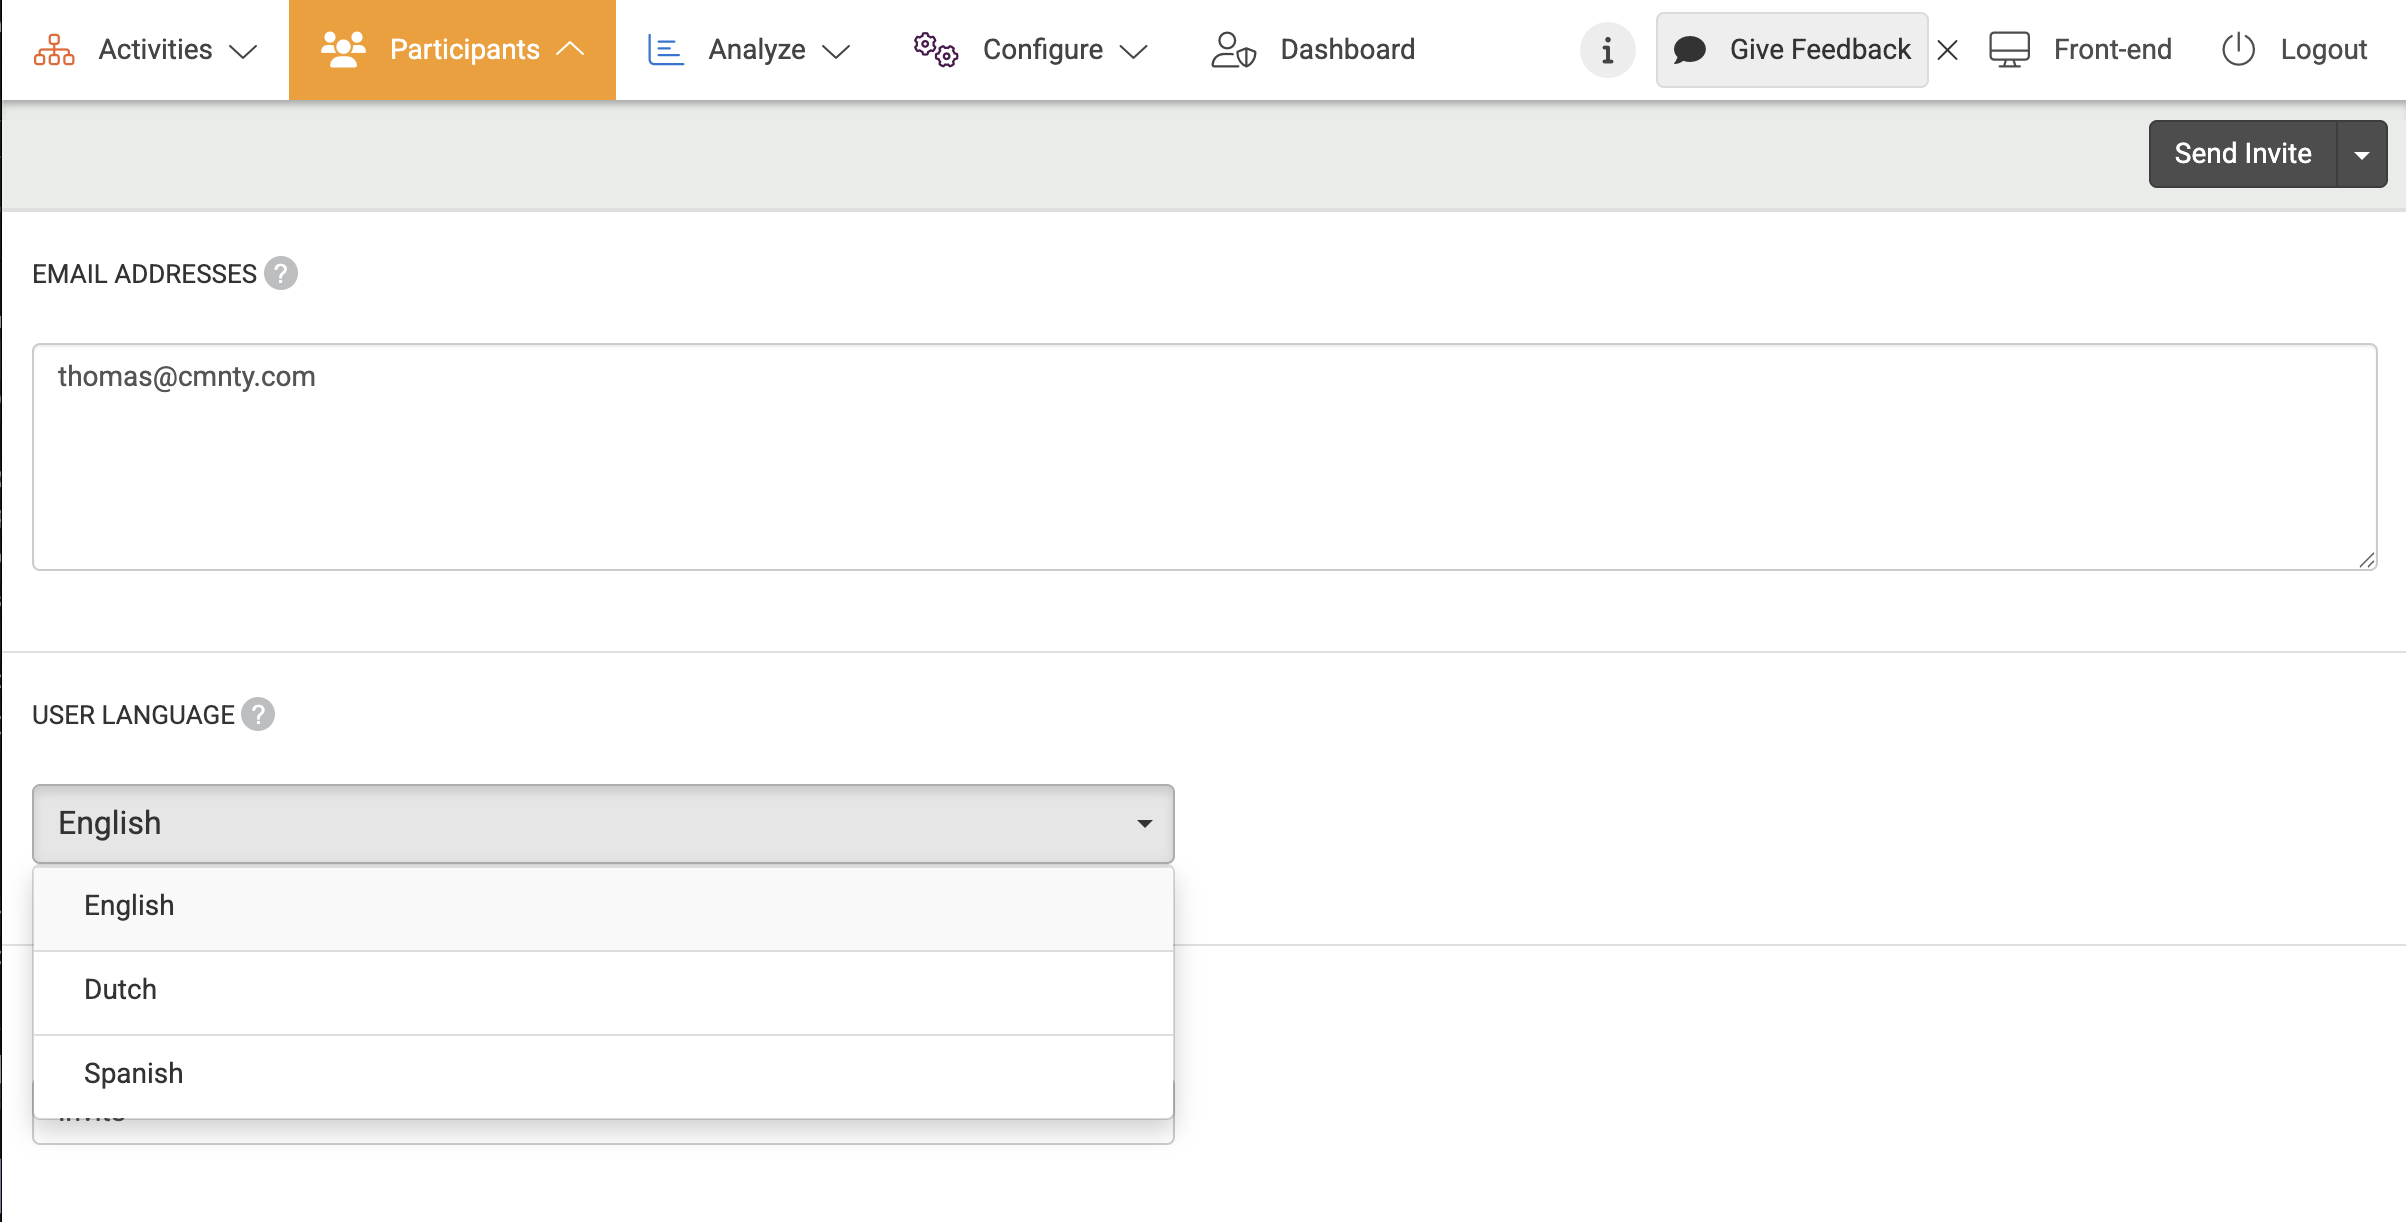
- Click Add Invite in the overview. You can fill in the email address or email addresses (separated by commas) of the participant(s) you want to invite to your platform.
- Add Multiple email addresses to the invite by separating the email addresses with commas.
- Choose a default Language for your invite.
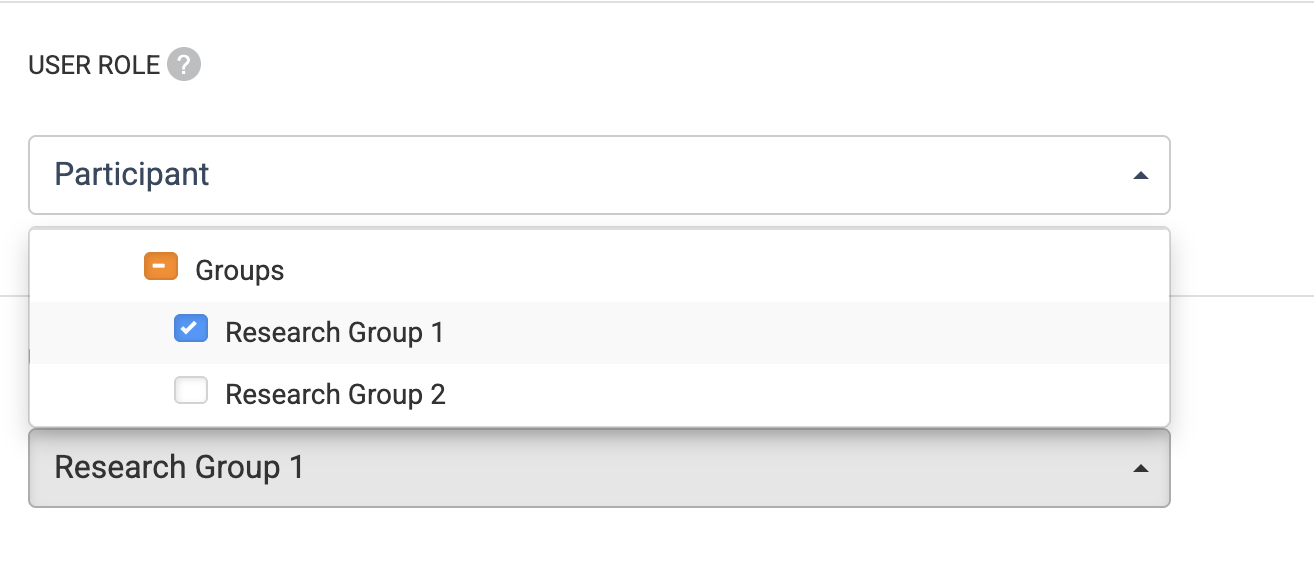
- Choose which USER ROLE your invited users will get.
- When you have created USER GROUPS, you can categorize your invited users.
7. Optional Settings
That’s it! That were the most important settings.
We conclude with a few articles about other topics that might be useful while setting up your community: