One of the most powerful features of CMNTY Platform is our user grouping system. User groups allow you to export information from segments of your community to understand your community activity in meaningful ways and allow you to target content to specific participants (with a targeted group) so you can curate the content that your community participants see.
There are two types of user groups that are supported in CMNTY Platform. The first type of user group, which is supported on all of our plans, is Normal user groups. Users are added to Normal user groups manually. To add a user manually:
- Go to the Admin section of your CMNTY Platform.
- Navigate to Participants > Users > User Management.
- Find a user that you would like to add to a user group and choose Options and Edit Groups.
- Select the user groups you would like to add the user to and Update Groups.
You can also upload members to a Normal user group using a Bulk CSV Upload. To do this:
- Go to the Admin section of your CMNTY Platform.
- Navigate to Participants and User Groups.
- Find a user group that you would like to add users to and choose Options and Add Users from CSV.
- Be sure to upload a CSV with one column containing email addresses of the community members you would like to add to the selected user group.
Assigning content to user groups
You can easily assign content and activities in your CMNTY Platform to specific user groups. When you assign content to a user group, only participants in that user group will see the blog, forum, challenge, etc. In this way, you can curate the content that each member sees so participants feel they are in a community tailor-made for them. To assign content and activities to a user group:
- Go to the Admin section of your CMNTY Platform.
- Navigate to Activities.
- Select the module and the activity that you would like to assign (or create a new one).
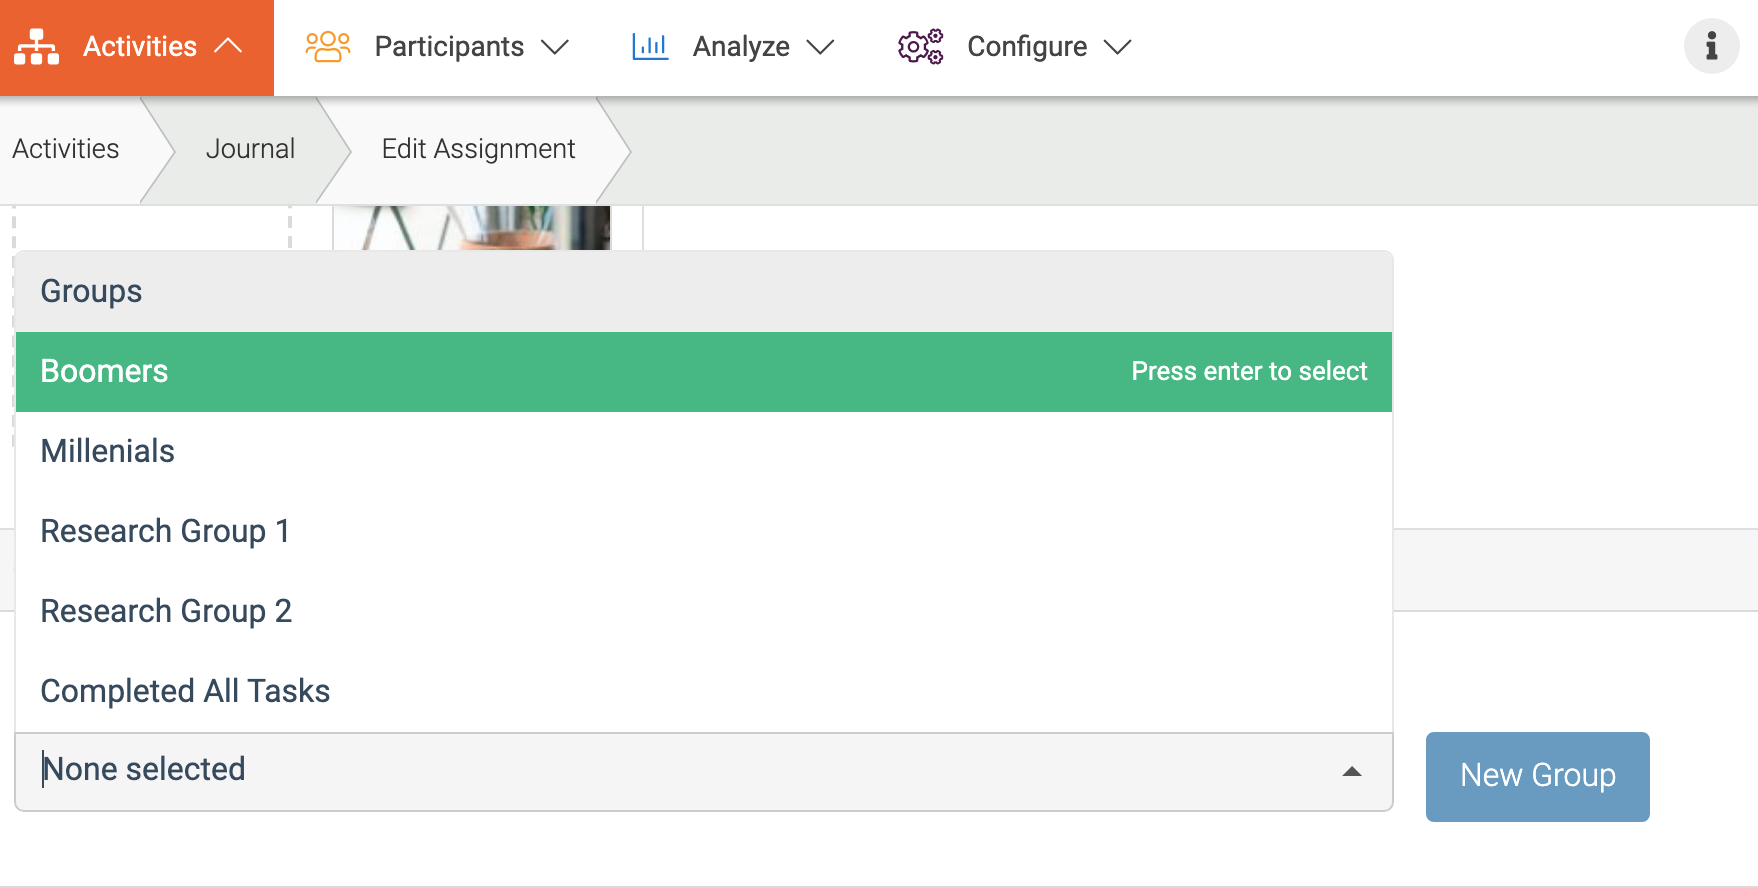
- Toward the bottom of the page, you will see an option to Add to groups.
- Select the user groups that you would like this activity to be visible for and Save.

Creating a user group instantly
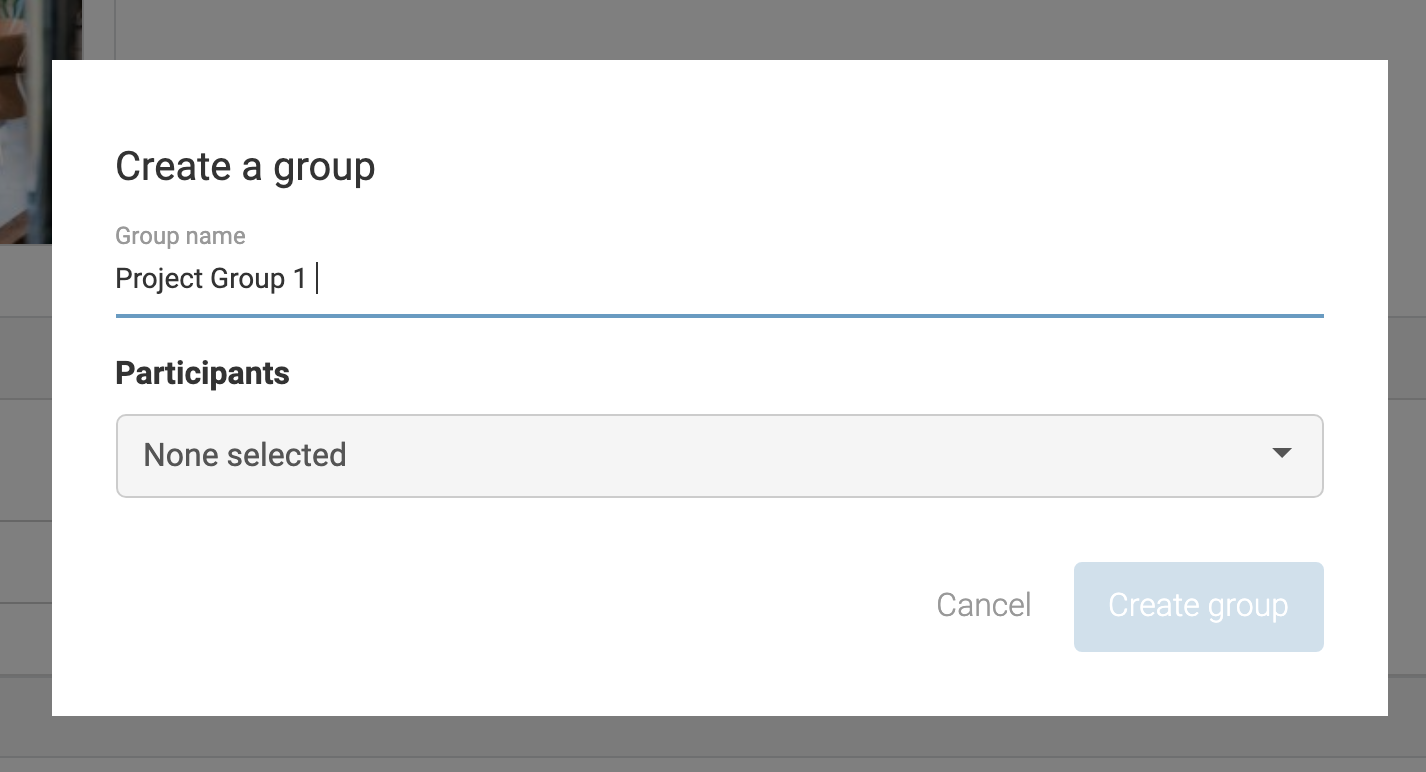
You can also create a user group from the same page of the activity/task you are creating. This is very useful when you didn’t create your group before and you don’t have to visit the Participants menu to create your group. Simply click on the blue New Group button and give your user group a name and select the participants one by one or by searching from the dropdown menu.

Setting up user group categories
User Group categories help you classify segments of your community member population.
Example: You may want to create a group category Men that includes the groups, Men 25-50 and Men 50+. When you are publishing content to your community, you can assign specific content, not only to certain groups, but also to an entire category of groups at once. You can create a group category by following the steps below:
- Go to Participants at the top menu in Admin.
- Underneath Users, choose User Groups at the left menu.
- Click Add Category and fill in the name of your new category.
Learn more about creating groups automatically with Dynamic User Groups.
Read more about the capabilities of our platform here!
