
When launching a platform, knowing exactly how the user will experience the new platform is important to ensuring invitees join your community. To this end, we will describe the different invite options as well as the user experience for registering to the platform below so you can plan what will work best for your community.
Invite Options
The platform offers numerous options to join the platform and all depend on the ideal experience for how users get to the register page where they will officially sign-up.
Email Invite
Sending an invite to a user directly from the platform is the quickest route to get an invitation to a user and only requires their email address. In Participants > Users > Invites, select to Add Invite, then add any emails of users to invite (separated by commas), edit the invite message, set user role, and set manual user groups.
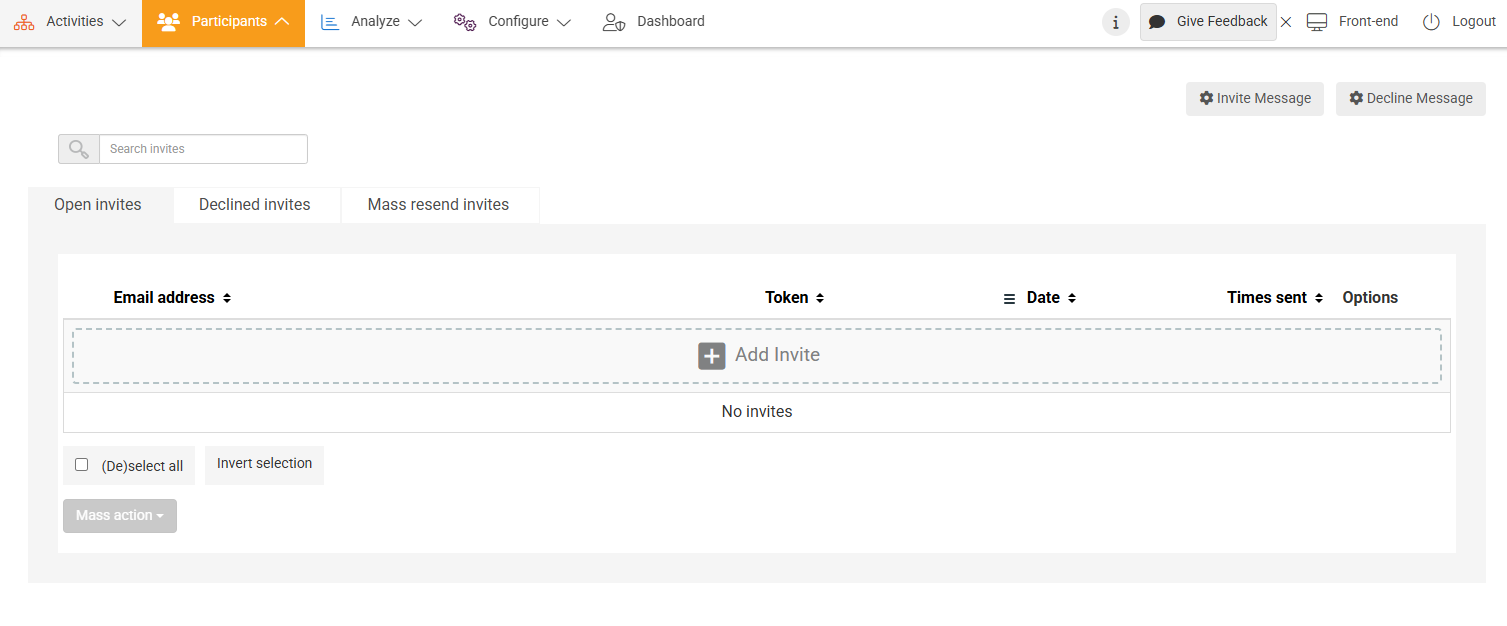
The user will receive the invite email and click the Accept Link to go to the Register page and create their account. Emails are sent from the Sender Address for the platform, so if sending to business emails it is best to update the email domain identity and settings to ensure they pass a spam filter.
Import and Invite
If you have profile information in addition to the user’s email, you can import this profile information to the invitee before sending out their invite. In Participants > Users > Import, add the CSV to import, then assign the columns of the CSV to corresponding profile fields. Once imported, the profiles will be listed in Recruitment where they can be selected to Send Invite to prepare and review before sending through the Invites page or Convert to Invite to set as an unsent invite with an active Accept Link.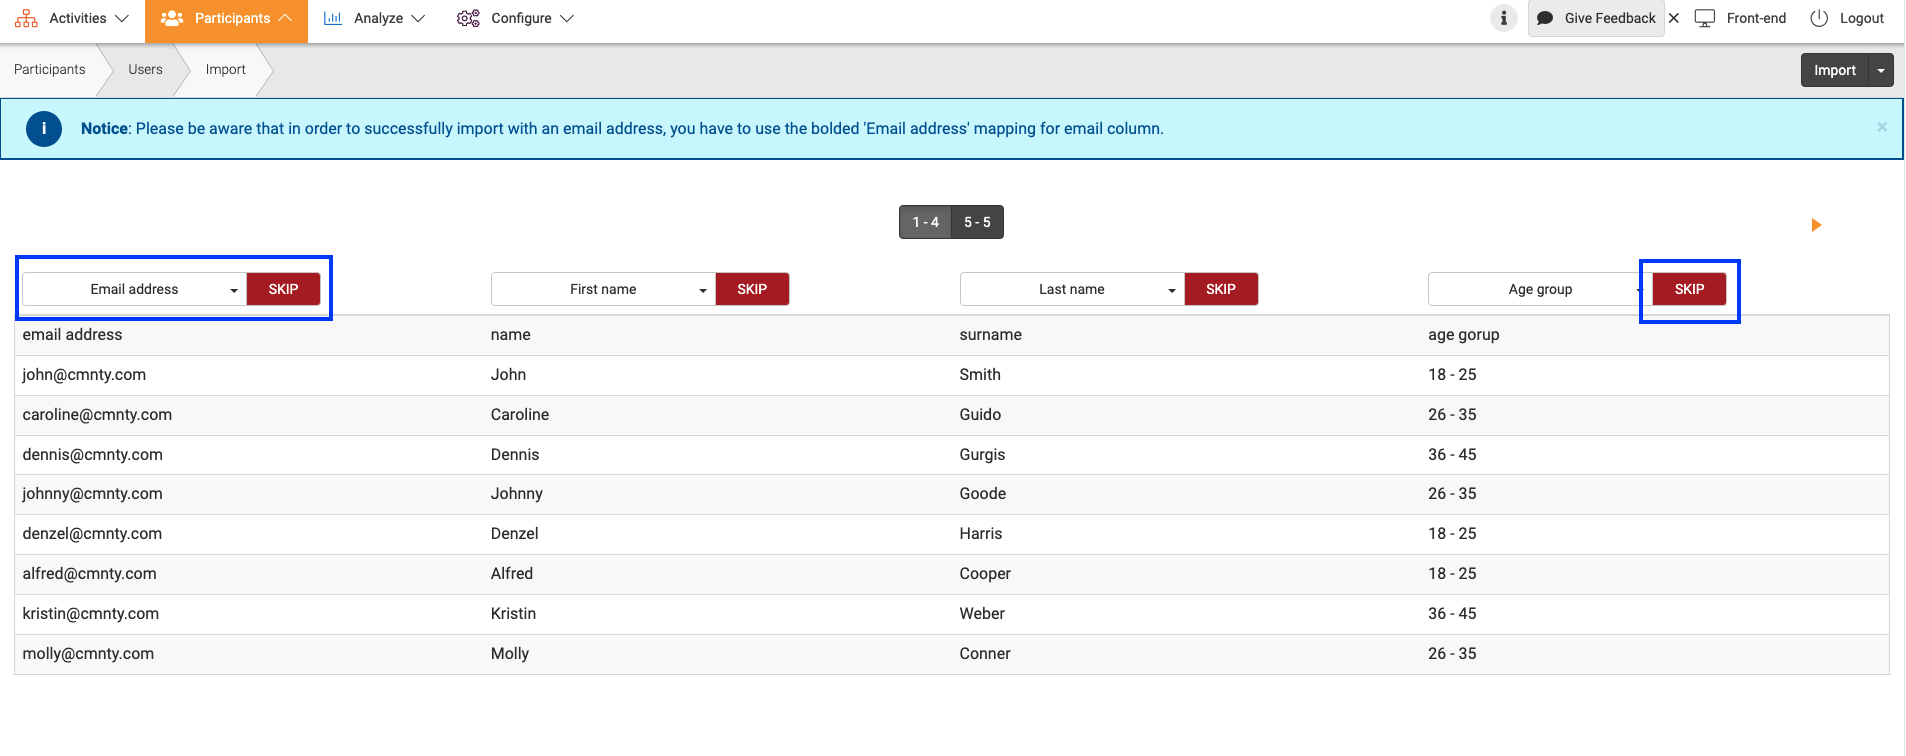
The Accept Link can be manually sent to the user outside the platform to allow them to join and exists for all pending invites, though using Convert to Invite ensures they are not sent an invite email to receive their activation link.
When the user goes to register through the invite email or accept link, the provided profile fields are filled-in so depending whether the fields are visible to the user they can update or fill-in only needed information.
External Screener
When using an external screener, you can direct participants directly to the registration page from your preferred screener tool, whether it’s a survey or social media ad. In Participants > Panel > Screener, you can enter the screener link, which sets the platform up to accept any recruits routed to the platform. In the survey, setup the following authorization link to direct recruits to register: https://YourPlatformName.cmnty.com/authorize/screener?pid={{PID}}&psid={{PSID}}.
You can include two pieces of information automatically with the link to track recruits: PID is numeric and PID is alphanumeric. Both are optional, but one must be included in the redirect to the platform. If no information is needed, make one a static variable ex: pid=1. We explain all options available and instructions for screener linking here: https://support.marketresponsegroup.com/recruit-through-screener-redirects/
Invite Codes
When the Use Invite Code System option is on, invite codes can be added and set for users through Import. When setting the columns for the imported information, select Invite Code to have that information set as the invite code. Then, select those codes and Convert to Invite to activate the invite codes. Invitees can enter their invite code at Submit Invite on Login page to register to the community.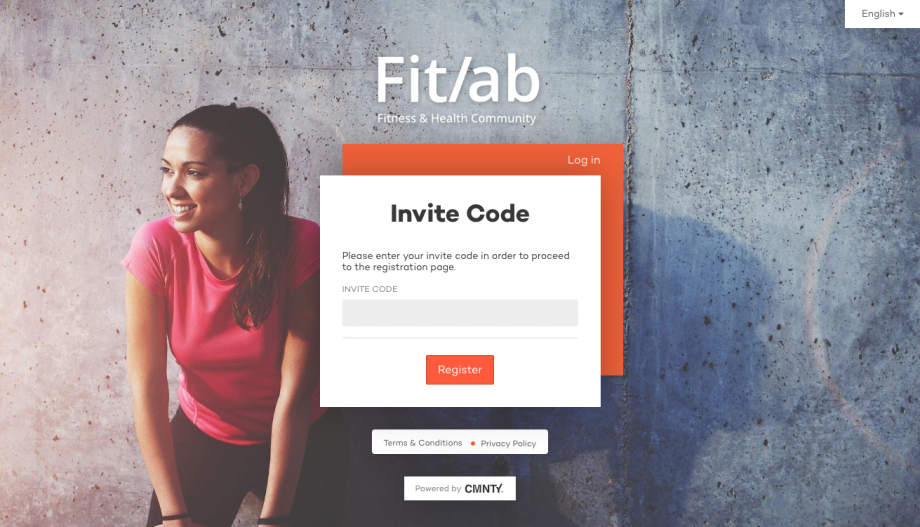
Invite codes allow for both the accept link and invite code to register to the platform as the Accept Link includes an invitee’s code, i.e. https://www.your.cmnty.com/authorize/invite/invitetoken. Either can be sent to these invitees to register to the platform.
Open Registration
When you are fine with anyone with the link to your community registering to the platform, this is the simplest option to invite users to the platform. Platform Status controls access to the platform for guests, so when set to Open (all public content is accessible) or Protected (only Register page is public), users can access the register page directly or from the Login page.
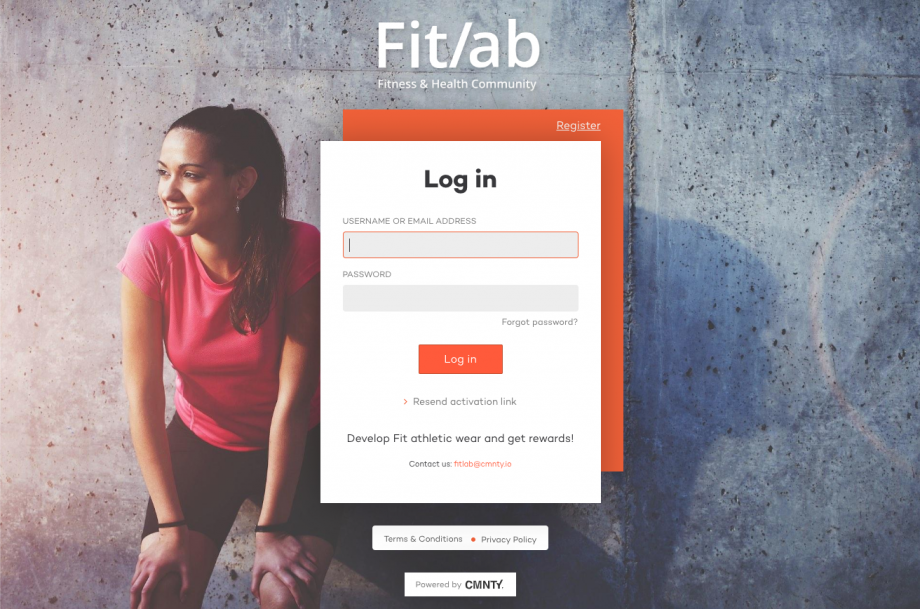
When set to Open, it’s best to link them to the Login or Register pages directly or use Landing Page for Guest Page to route invitees to the those pages. Just share the link to the community to the users you want to invite and they will be able to register and create their accounts without an invite.
Members registering through links will need to activate their account by email to ensure they use an active email address. Guest registrations will be marked as Pending Status in User Management and can be manually activated there by admins in cases where users enter the wrong email.
Activate Invite
The only option to avoid members reaching the Register page is to personally activate their account through the accept link, then you can create their password and add details. Afterwards, you can share their login details and the user can sign-in without accepting an invite or registering to the platform. Depending on the goal of such an invite situation, this can work well to ensure specific users are activated and have access to the platform.
Multiple Language Platforms
On platforms with multiple languages active, the default language is what will show from general links to the platform. The only option to select which language they receive is by adding ?locale={languagecode} to the end of the URL (https://www.your.cmnty.com/authorize/invite/?locale=en). A language code is a two letter code used to call a language from the platform URL.
Some language codes are:
locale=zh – Chinese
locale=jp – Japanese
locale=fr – French
locale=en – English
locale=de – German
locale=es – Spanish
A list of language codes can be found here: https://en.wikipedia.org/wiki/List_of_ISO_639_language_codes
Register Page
The way your members reach the Register page has many options, but the experience once they are on the page is always the same. The Register page does not allow for customization through Javascript or CSS for security reasons to prevent any data harvesting or other potential vulnerabilities.
The Register form is set based on the profile fields allowed to show within the page and can be previewed. Profile fields can be sorted through the Sort View to match the desired experience for filling out profile information when registering. The form will default Username, Email Address, Password, and Repeat Password to the top of the form, then all other sorted fields below it. The form ends with Language drop-down (if multiple available for members), Time Zone drop-down (if set by members), Newsletter Opt-in checkbox, and Terms checkbox. 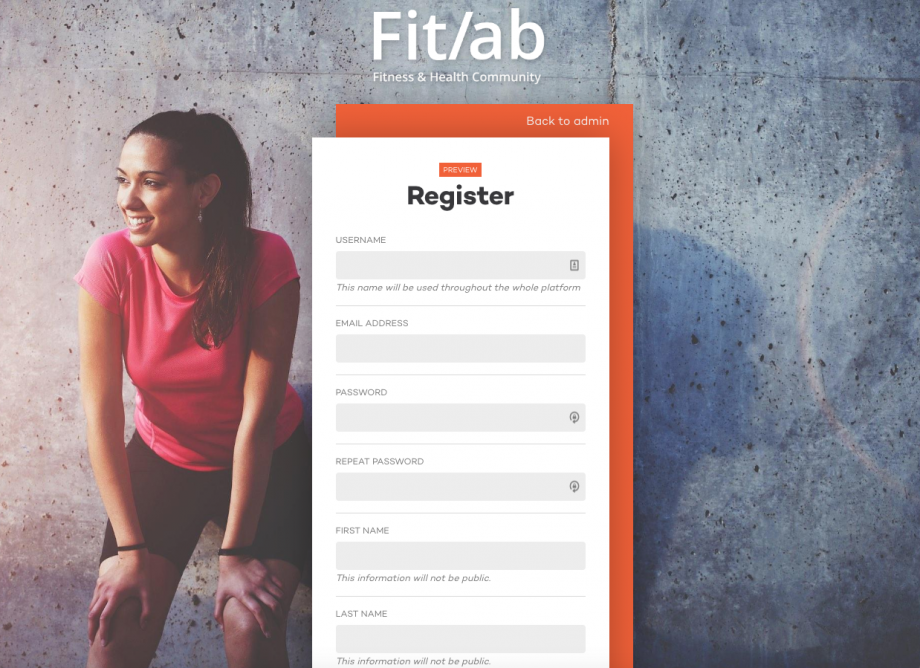
The Register form can only be submitted once all required fields (Username, Email, Password, and Terms checkbox) are filled-in. For invited members, they are now registered as active members and can start exploring the platform. For guest registrations, they will become active members once they confirm their registration through the link sent to their email.
At this point, your Home or desired landing page takes over the experience for the new user and will inform them of where to go to engage with the community.