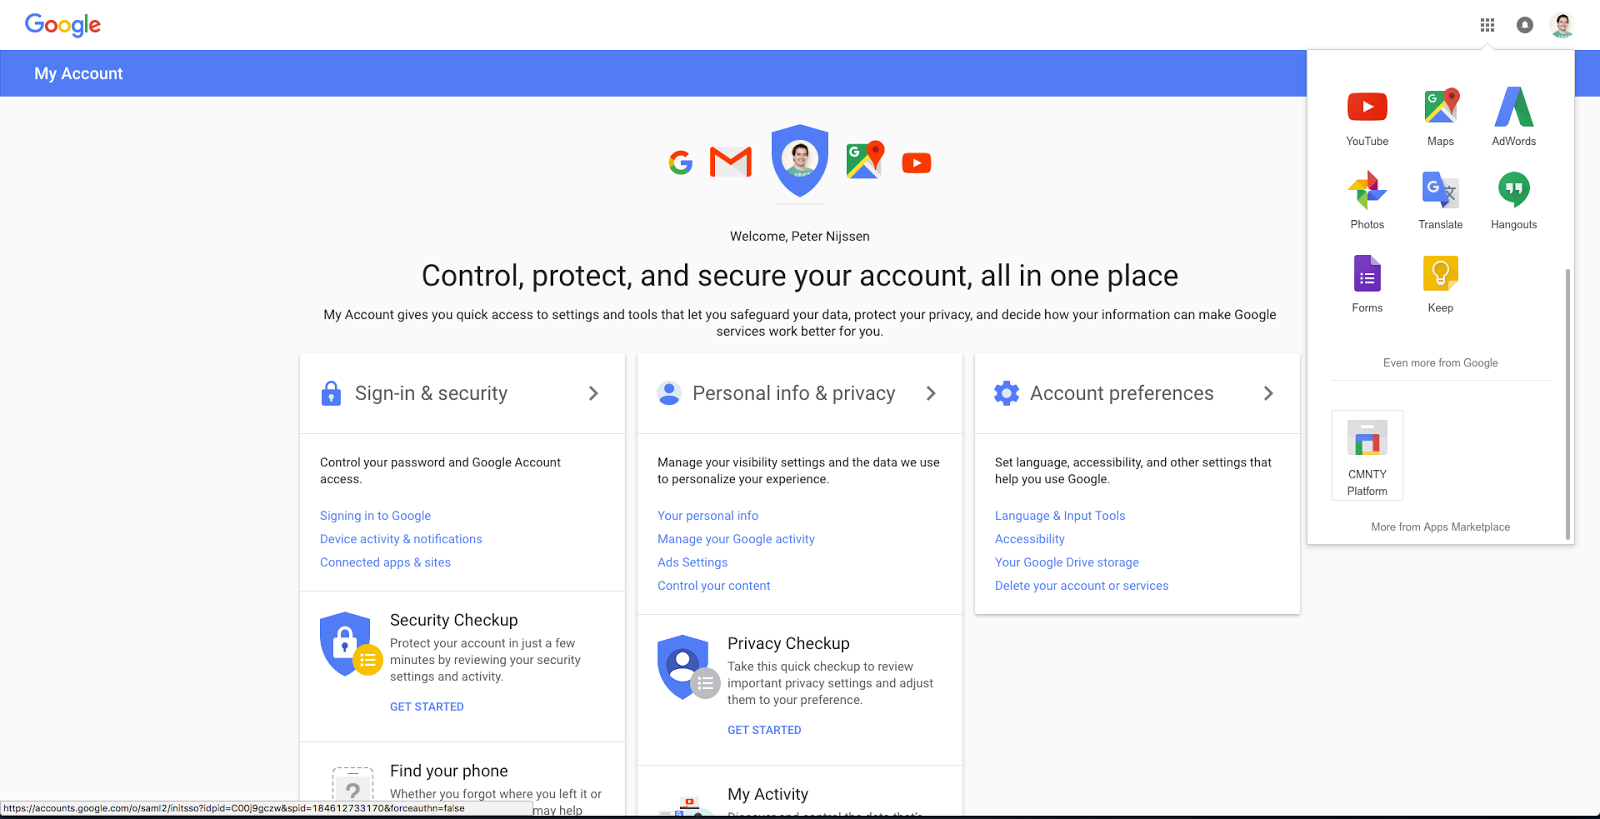
This article explains how to set up SAML-based SSO (Single Sign-On) between CMNTY Platform and G-Suite (Google), where G-Suite will be your Identity Provider and CMNTY Platform will be your Service Provider. This works with corporate Google accounts (which are part of G-Suite), not regular Gmail accounts.
Configuring the identity provider (G-Suite)
- Log into the admin console of your G-Suite apps account.
- Choose Apps within the menu.
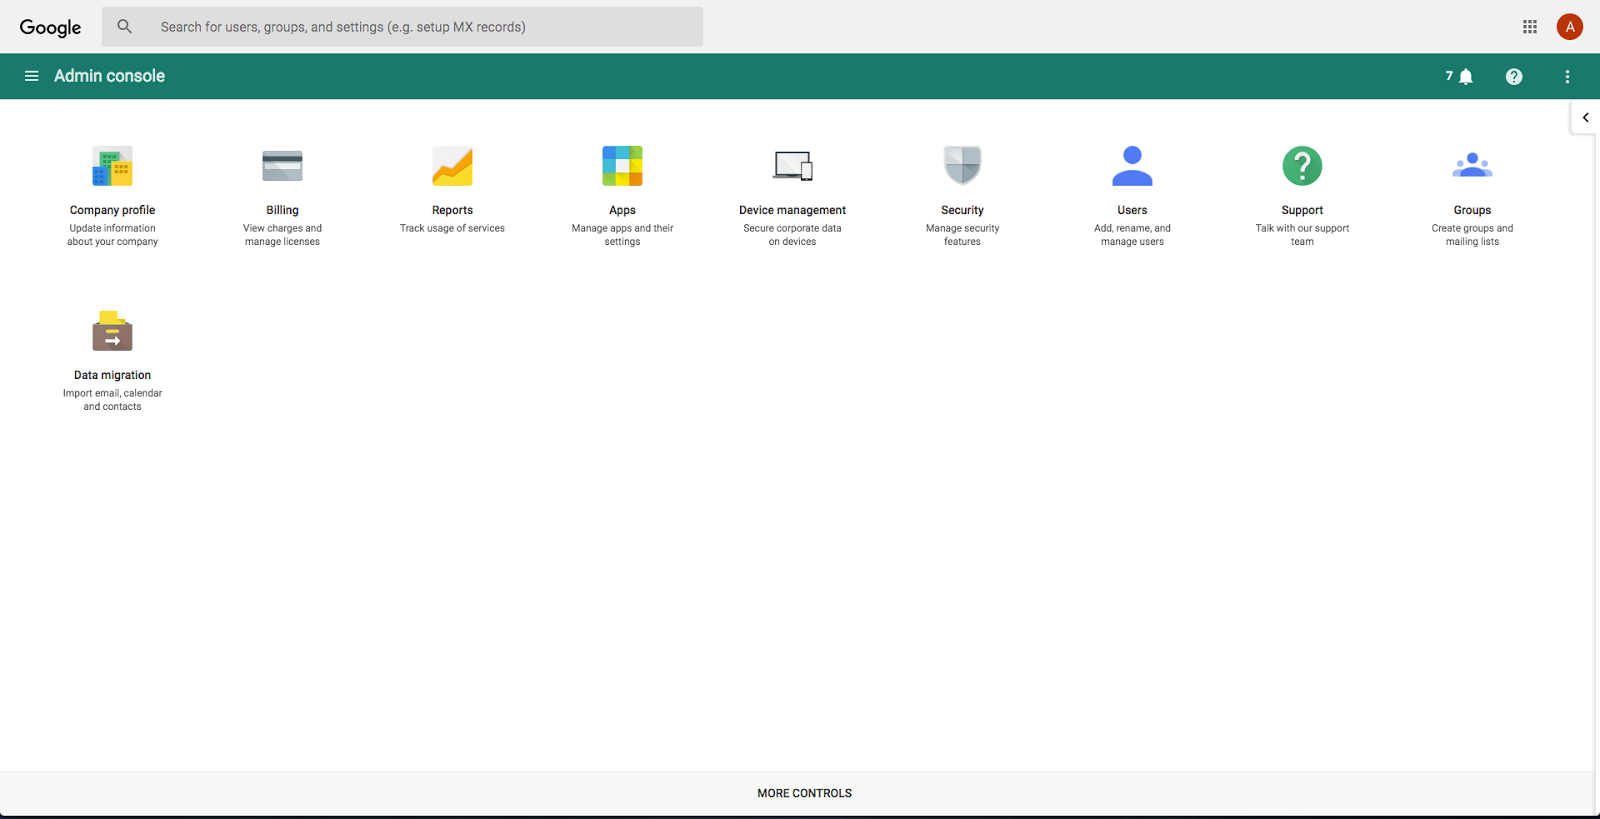
- Choose SAML Apps
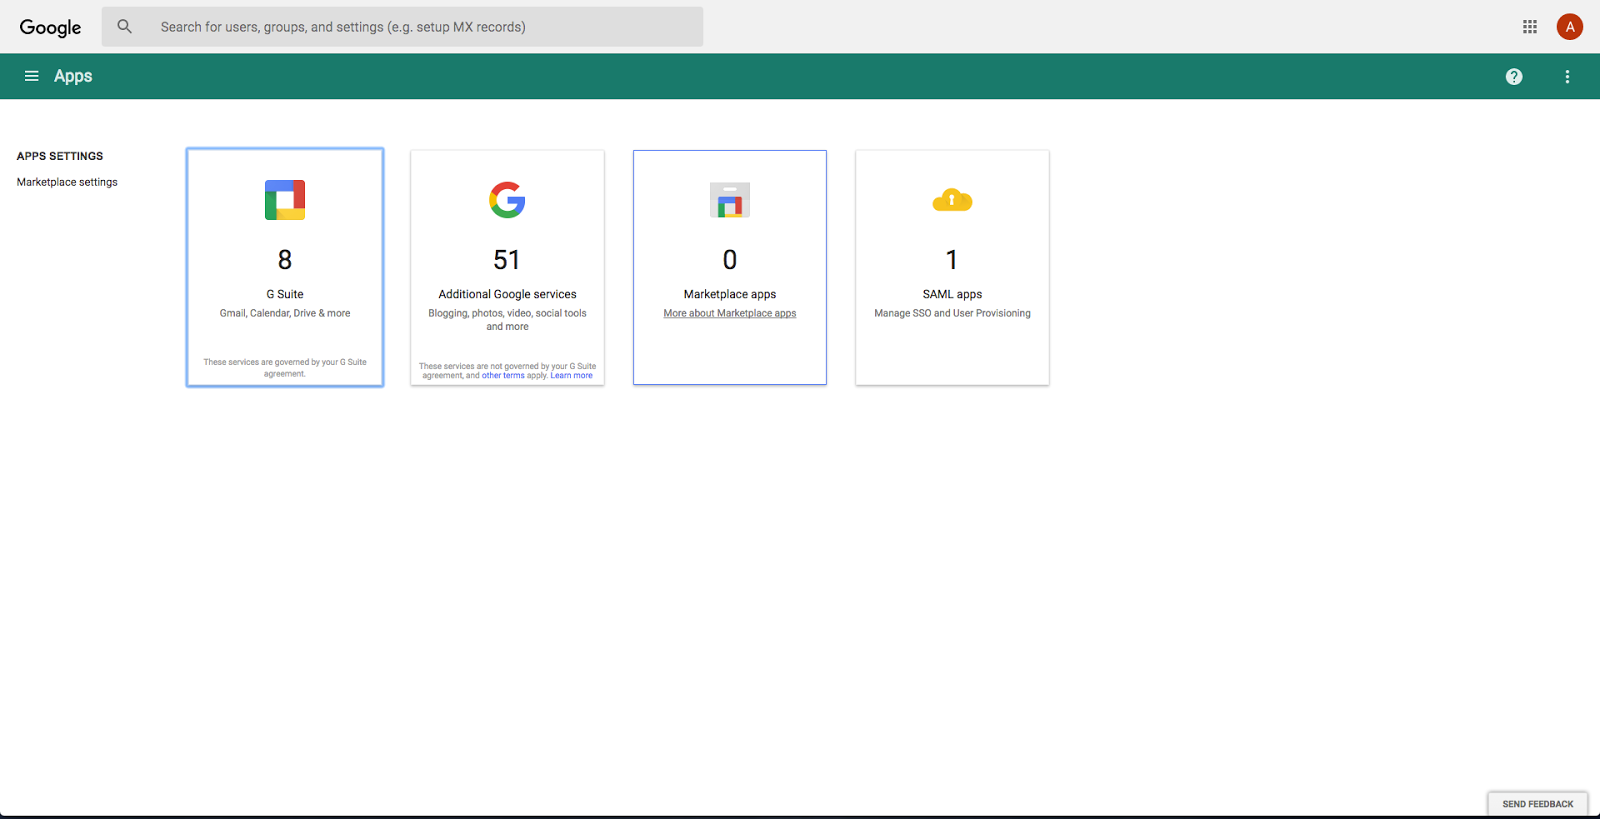
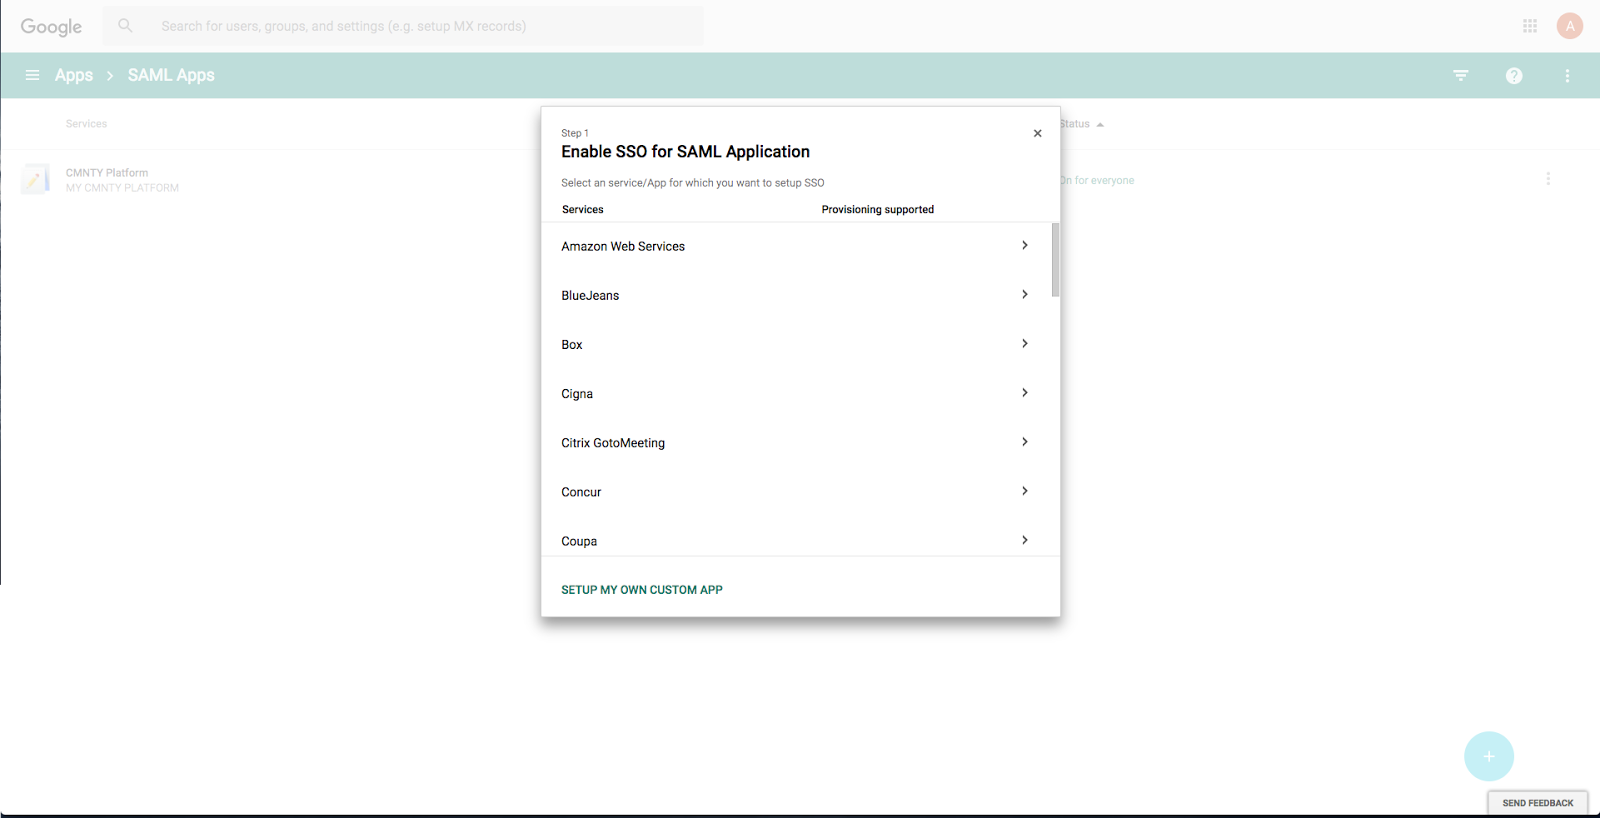
- Click on the + icon at the bottom.
- A modal will open. Select “Setup my own custom app”.
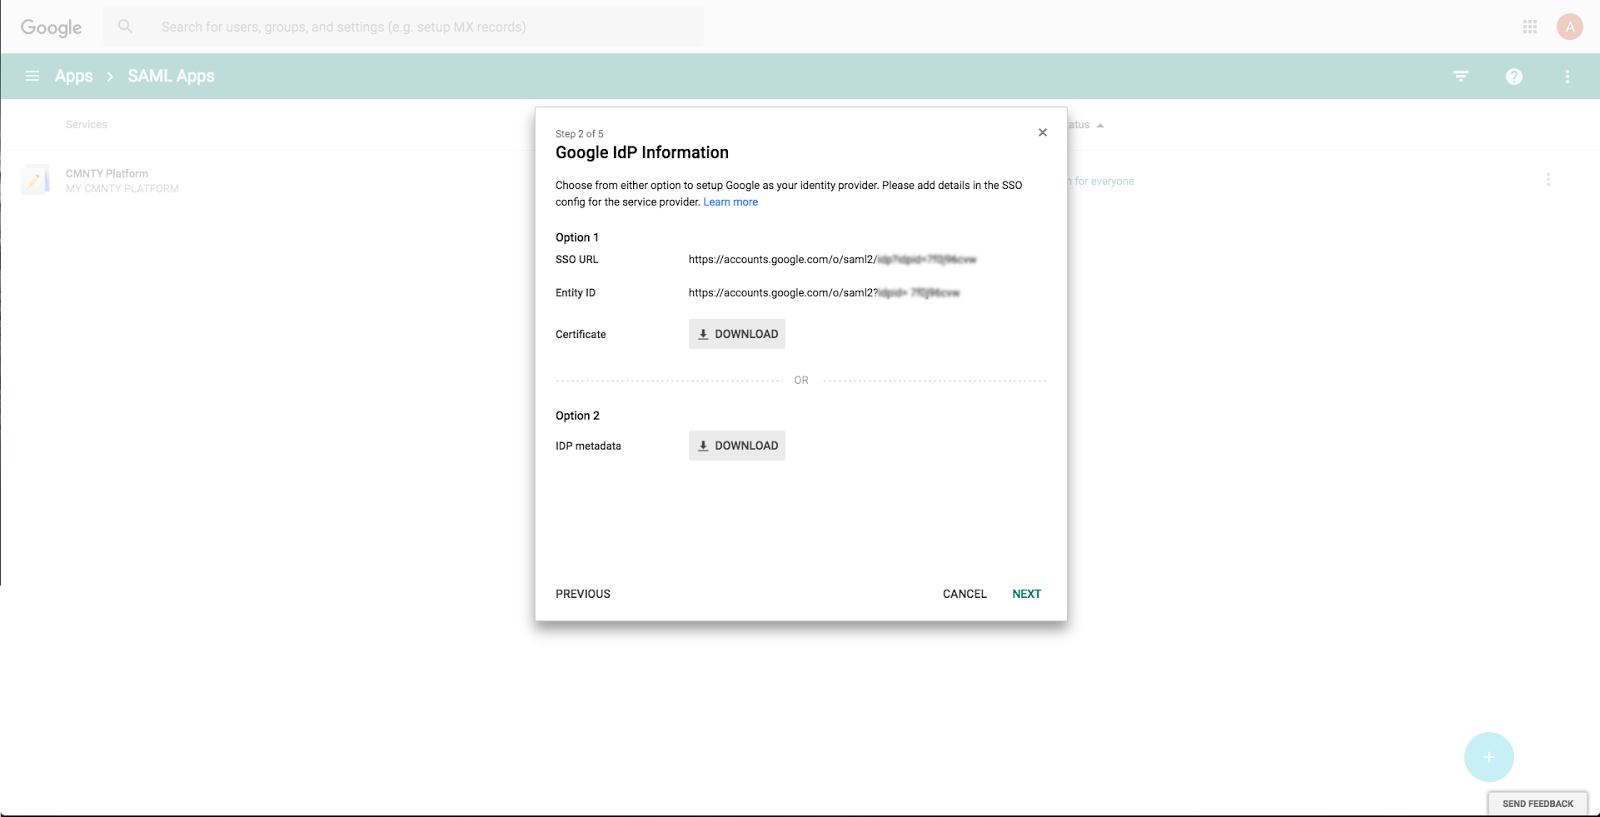
- Copy the SSO URL and the identity URL to a text file.
- Save the certificate on your computer and click “Next”.
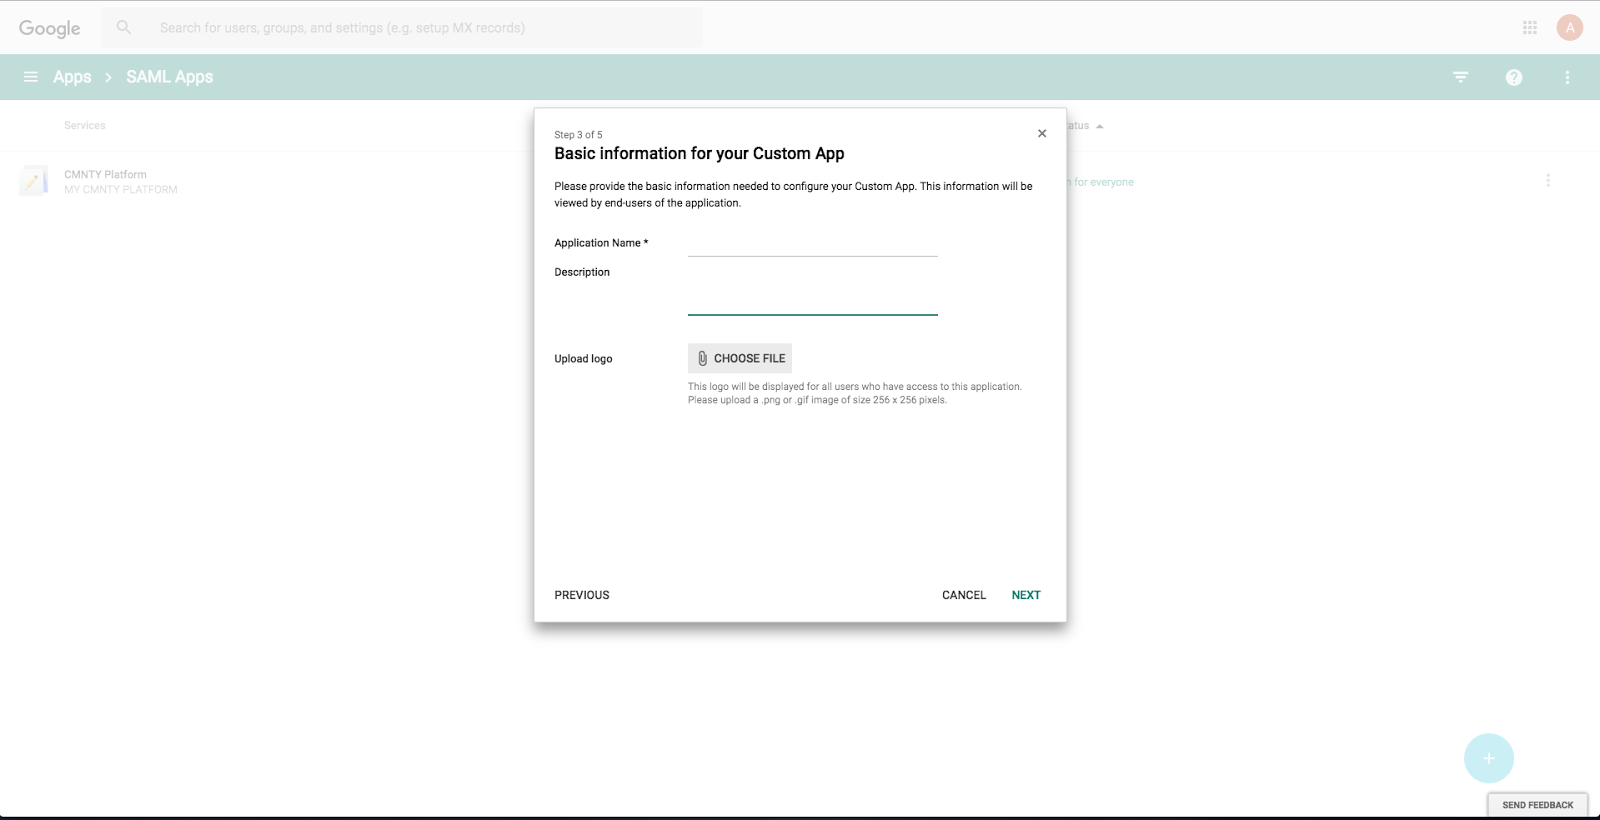
- Fill in the name of your Platform.
- Fill in a description and upload a logo to be displayed to your users [optional].
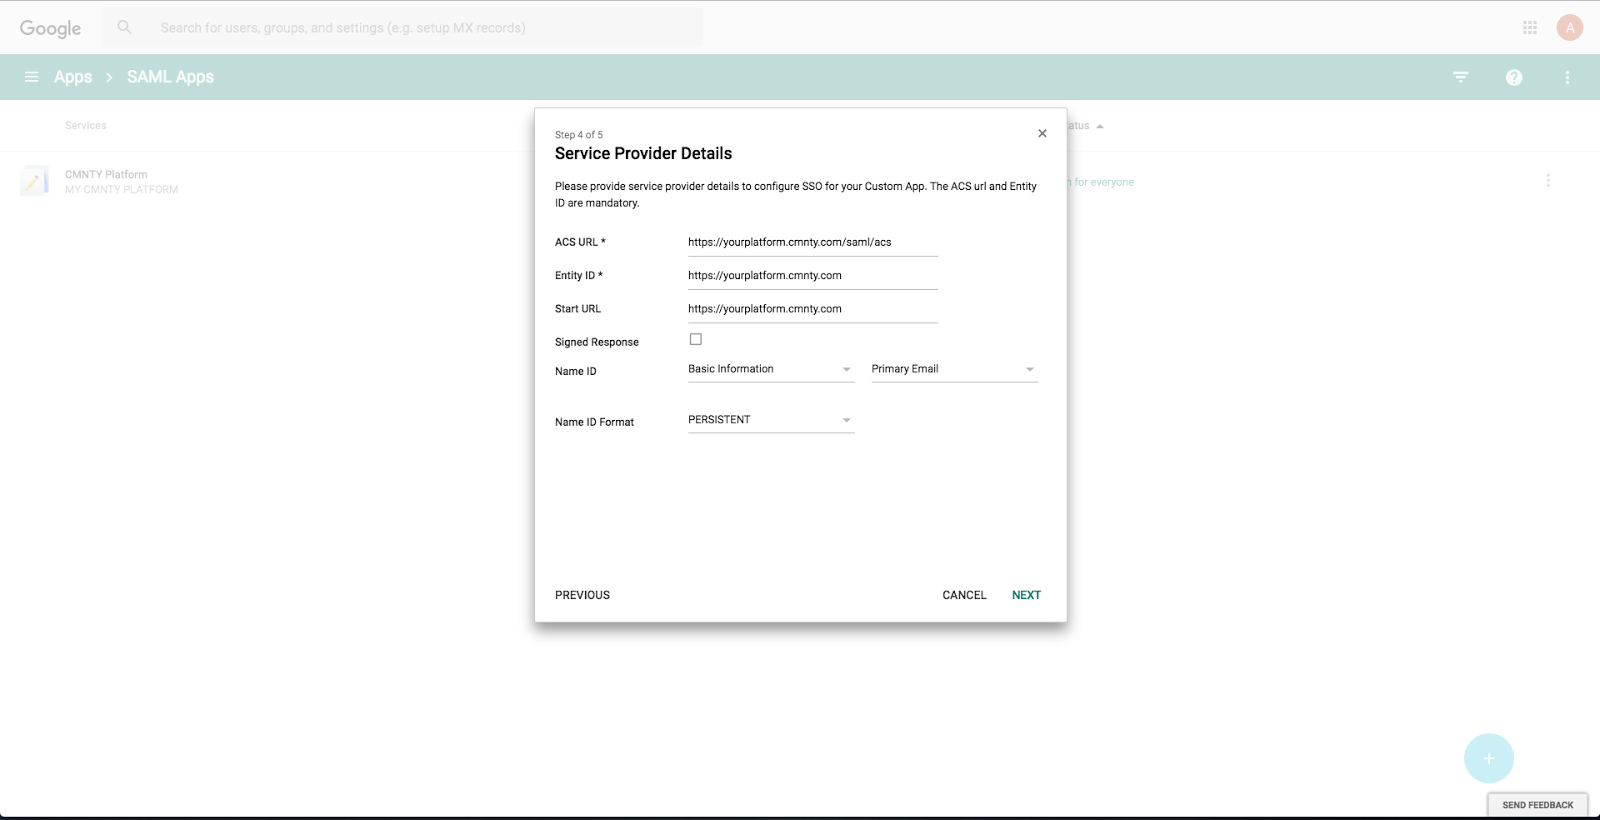
- Fill in the ACS URL and Identity ID (base URL).
- Set the Name ID format to persistent.
- If your platform name was https://yourplatform.cmnty.com, then the form will look like this:
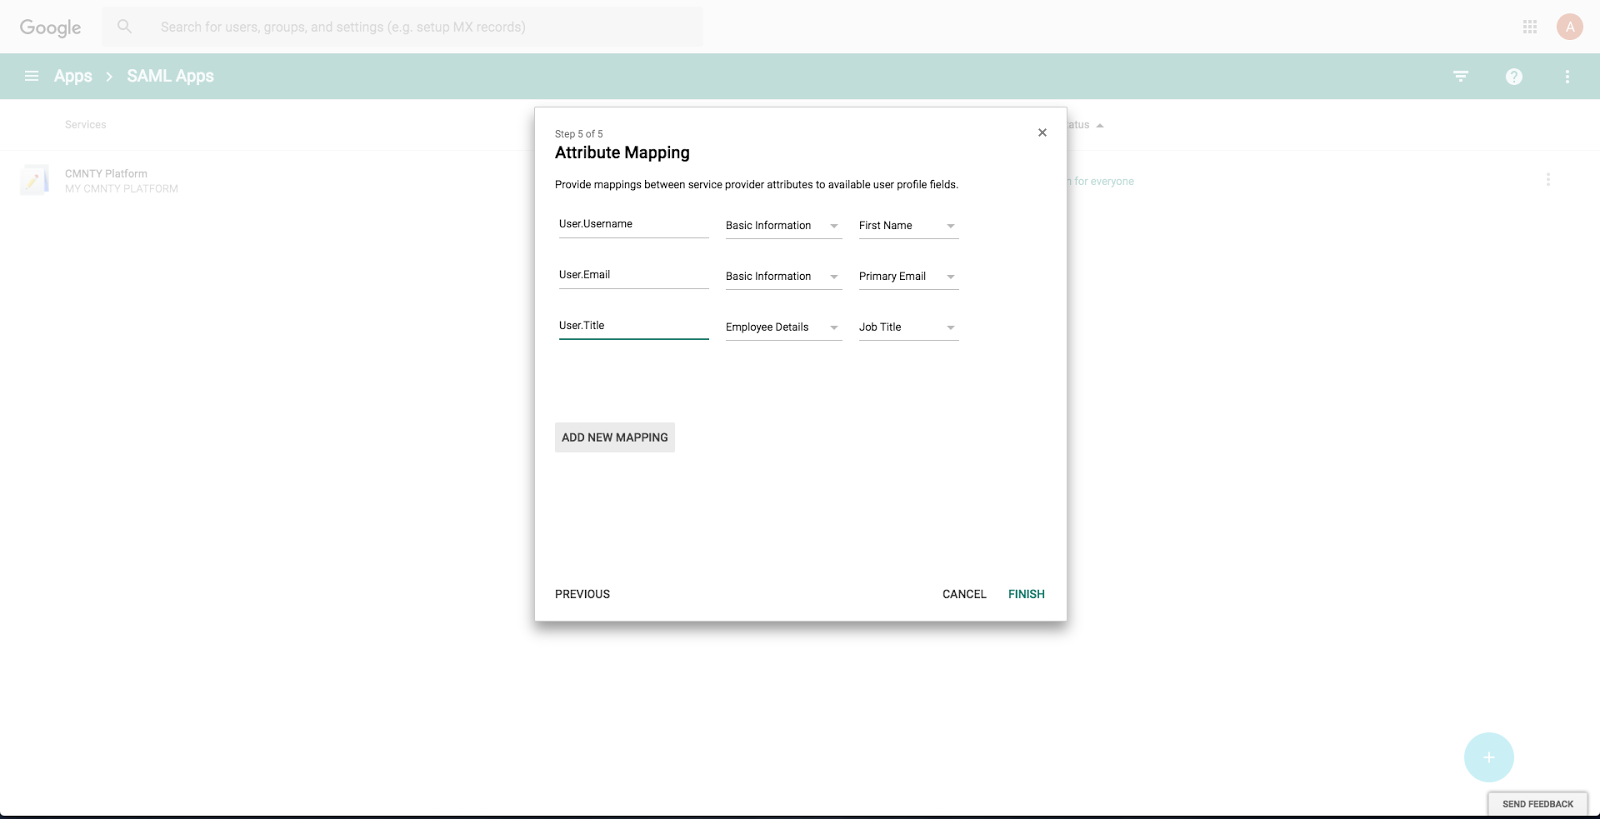
- You can set some mapping details/values. CMNTY Platform requires that you set User.Username and User.Email.
- You can set extra profile mappers (i.e. another profile field like a job title) to CMNTY Platform [optional].
- Click finish.
- You can now activate this app for everyone within your organization. Click on the menu icon and click “On for everyone.”
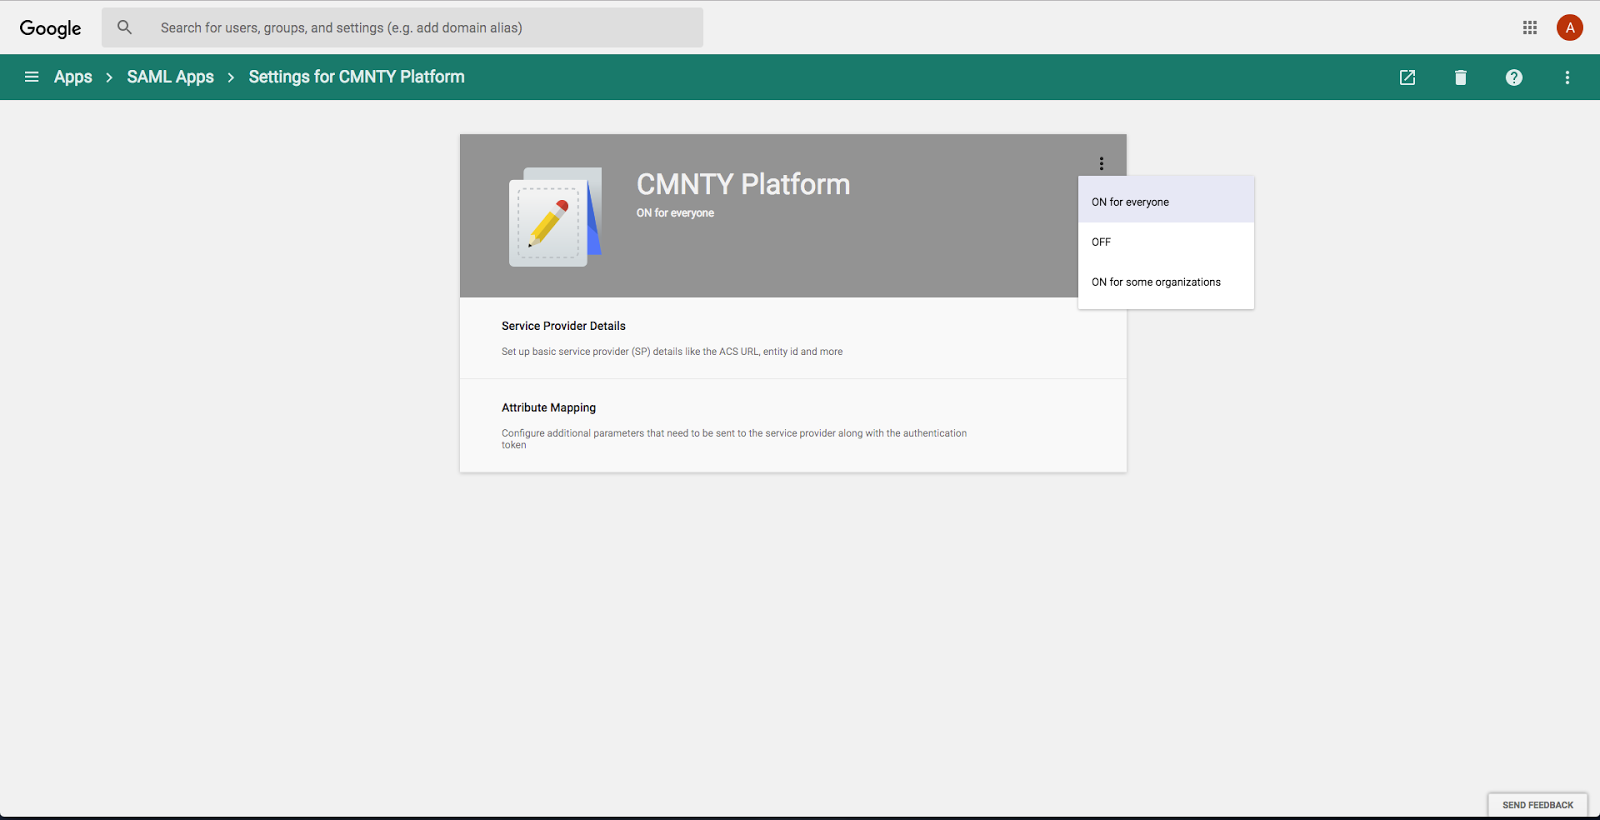
You are now done configuring G-Suite.
Configuring the service provider (CMNTY Platform)
- Admin of CMNTY Platform > Integrations > SAML.
- Activate SSO and activate Shared Login.
- The SSO URL you copied earlier from G-Suite can be put into the Login Endpoint.
- The Entity ID can be filled in as the Issuer URL.
- The logout endpoint can be left empty, since G-Suite does not support SLO.
- The certificate you downloaded earlier can be opened with an editor like TextEdit (OSX) or Notepad (Windows). Copy the contents of that file into the certificate.
- Finally, map the additional profile data which we called User.Title. We fill in User.Title as the Identity Provider Field and select Job Title in our profile drop down.
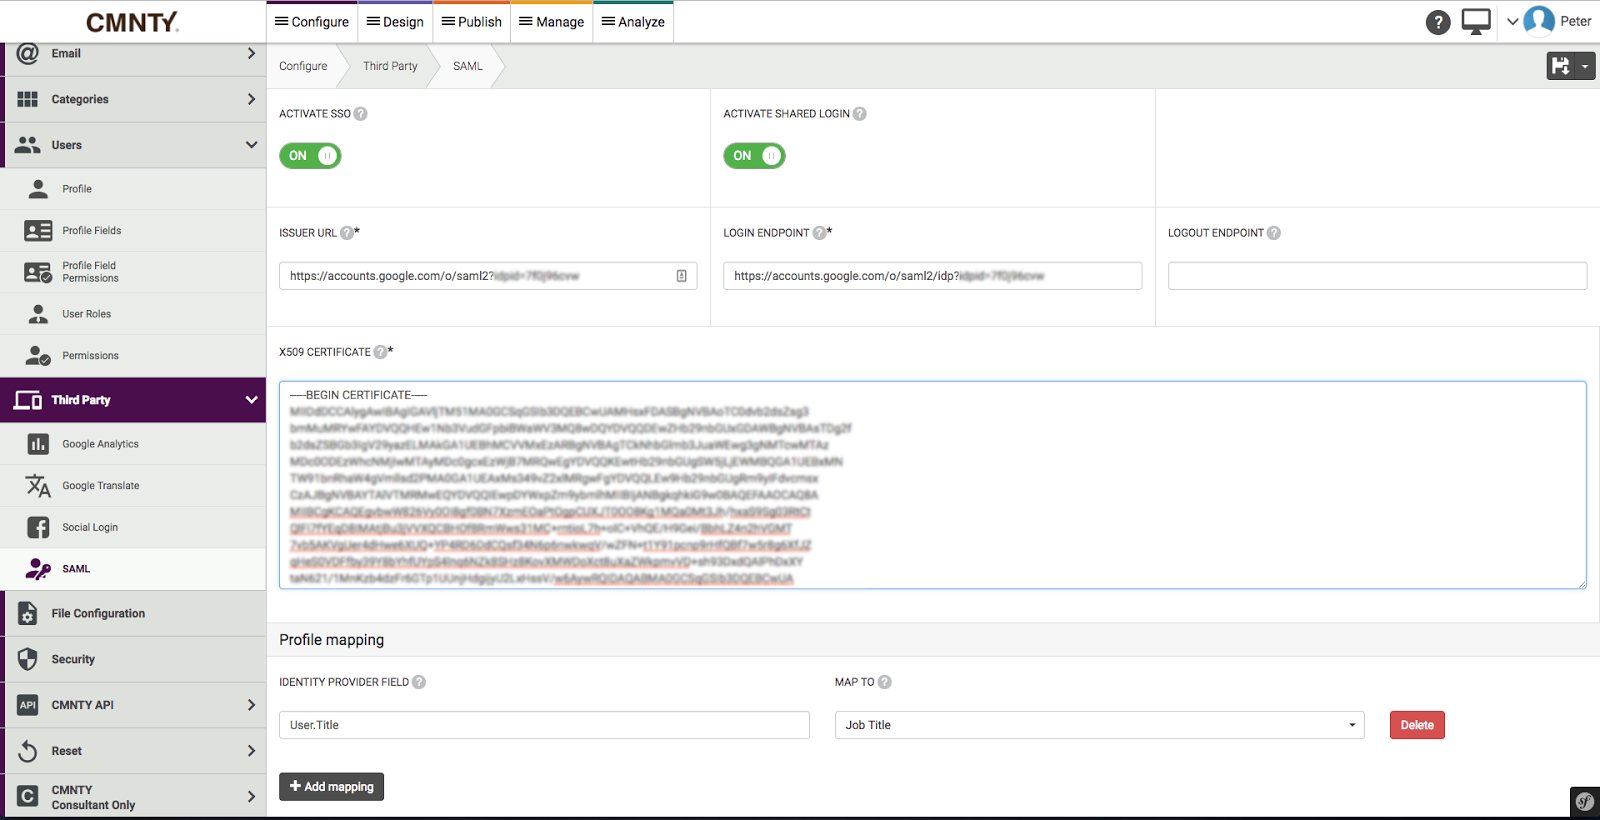
- Click Save.
Testing
You have now configured G-Suite with CMNTY Platform correctly. Do note, however, that it can take up an hour before G-Suite has properly updated their servers to reflect the changes you made.
There are two ways to initiate the actual login.
- You can use a service provider initiated flow by clicking the “Login with SAML” button on the login page.
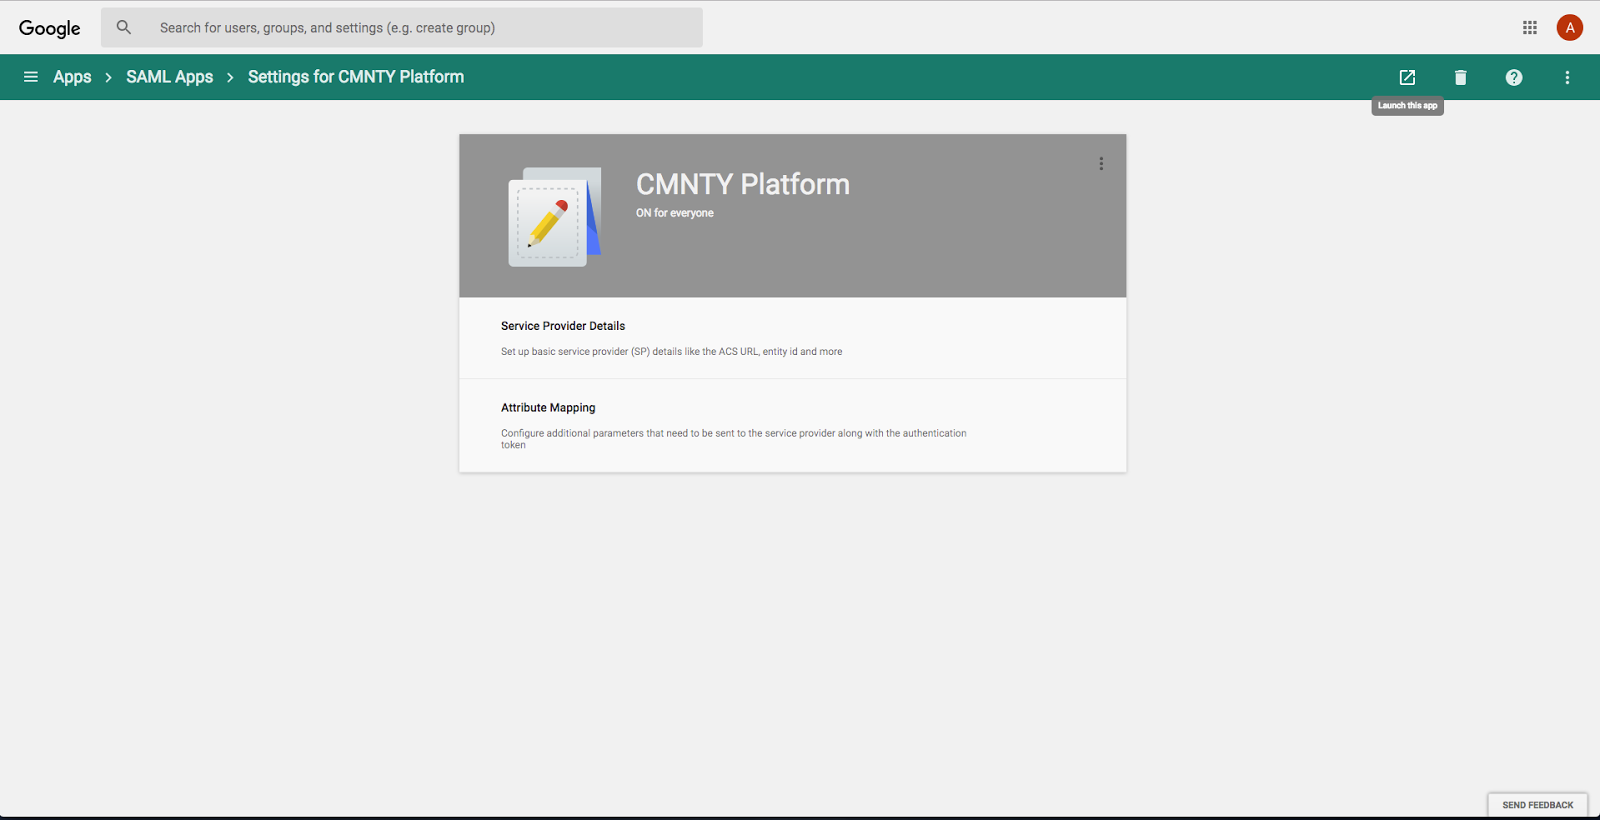
- You can click the “Launch” button in the G-Suite Apps setup at the top right corner to perform the identity provider initiated flow.
Usage
If everything works correctly, you can decide to disable the shared login. From that point on, people can only access the platform by logging in via G-Suite. If you choose to do this, first make sure that everything works as expected and that you made at least one user Community Manager with access to the admin, before disabling.
Users can easily navigate to your CMNTY Platform by opening up the App Drawer on any Google page and clicking on the application you created earlier.
