
Think of the Carousel as a slideshow highlighting various posts or areas of your platform in one section. The Carousel is generally located on the top of the homepage and will automatically scroll through the module posts you select to showcase. We offer two types of Carousel designs, one focused on images and another focused on text, so you can customize how you highlight content to your community.
Image Carousel
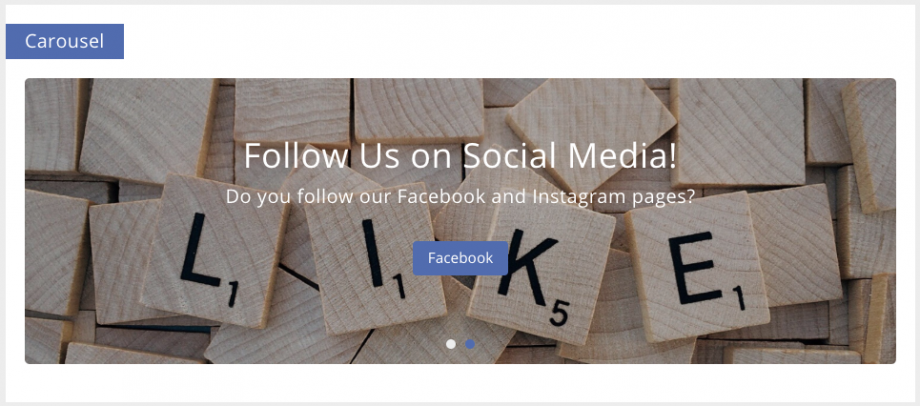
The image carousel is designed to showcase the image attachment to a Carousel item. When selecting the image to showcase in the post, keep in mind the width of widget. For example the width for Carousel in the Header section is 1600px. Images dynamically size based on the width of the page, so be sure to find an image that you are comfortable with being cut-off or expanded depending on how you view the widget. An example of the image carousel is shown above.
Text Carousel
The text carousel is designed to showcase the content of a Carousel item. Text is given greater room for your call to action to members. The text will dynamically size and adjust to the width of the page, but the image will stay the same size. The space given to text is expansive, but keep in mind mobile view and desktop view offer different experiences with text formatting, so review those when posting to the text carousel.

Experience both versions of the Carousel in Widgets:
- Go to the Admin section of your CMNTY platform
- Select Configure from the top-menu
- Select Widgets on the dropdown menu
- Select General and search for Carousel widget
- Select the Type of Carousel to show: Image or Text
You can add all of the following to a Carousel:
- Custom Link
- Blog
- Challenge
- Questionnaire
- Journal
- Forum
To add an item to a Carousel:
- Go to the Admin section of your CMNTY platform
- Select Configure from the top-menu
- Select Widgets on the dropdown menu
- Select the Carousel widget
- Select Add Carousel Item
To add your Carousel to a page:
- Go to the Admin section of your CMNTY Platform
- Select Configure
- Select Page Configuration